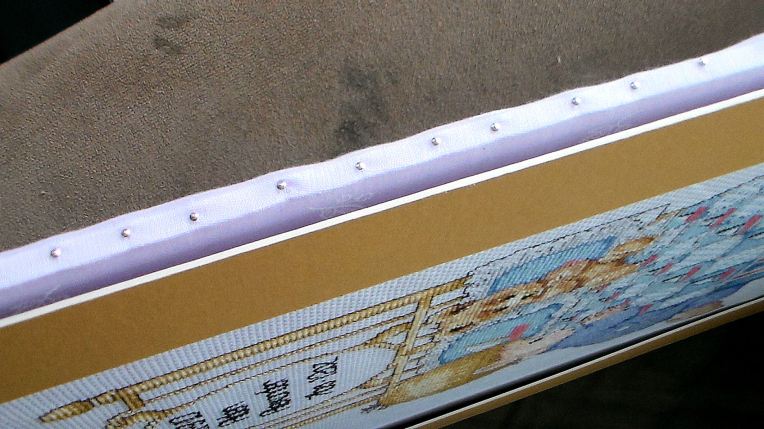
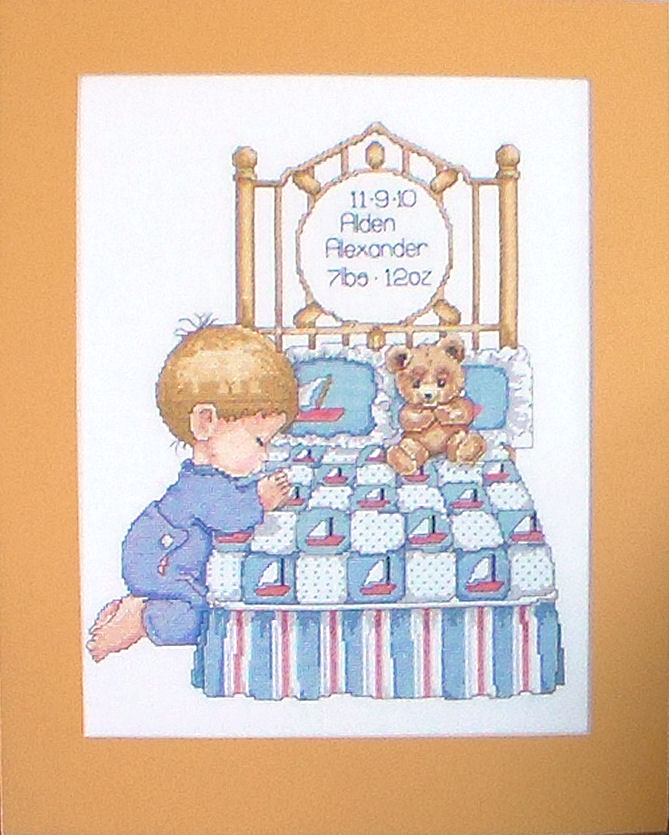
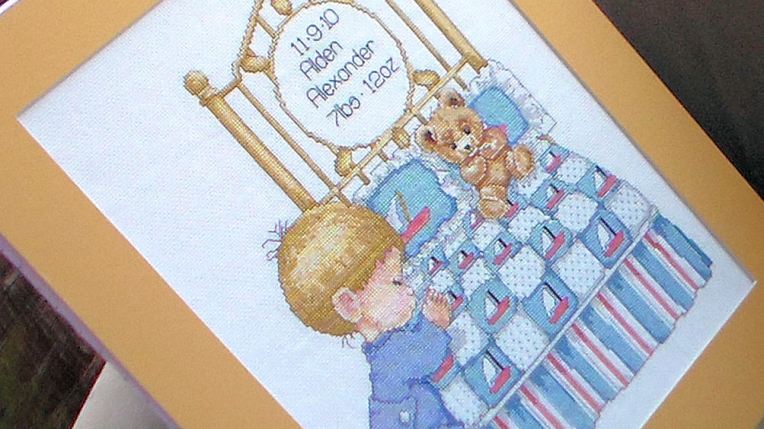
Hi friends! Being a freelance artist means that I take on a lot of interesting jobs. One of those jobs is picture framing. When my friend Lorraine asked me if I would mat this cross-stitch for her I asked if I could use it in a video demonstration on how to stretch one:
I have seen so many lumpy, wrinkled cross stitched in my life that were not stretched and it is not difficult using this totally reversible method. Reversible meaning that you can totally undo everything I have done in the future if you wish with no damage to the artwork. Watch the video to see how it is done:
Video!
Supplies:
- Silk Pins (available in the notions section of the fabric store, about $4 a box of 200)
- Foam board (also called foamcore)
- Fabric strips if your cross stitch fabric is smaller than the foam board. You will also need a sewing machine if you need fabric;)
- Tape

I recommend matting the cross stitch and framing under glass to keep it clean. a mat looks nice with keeping the fabric from touching the glass. I put this one in a clear bag from Papermart to keep it clean and displayable for now. I have a tutorial on mat cutting here if you want to know how to do that.
I hope you found this useful and it saves you money not to mention being able to display and preserve the needlework that takes so long to create! Please share this tutorial with other cross stitchers you know (via Facebook, Pinterest, Twitter, reblogging etc) because that really helps me out, I do not know if I have many cross stitchers reading here since it is not a craft I do. Thanks for stopping by and til next time happy crafting!

