Are Spectrum Noir Pencils Worth the Money?

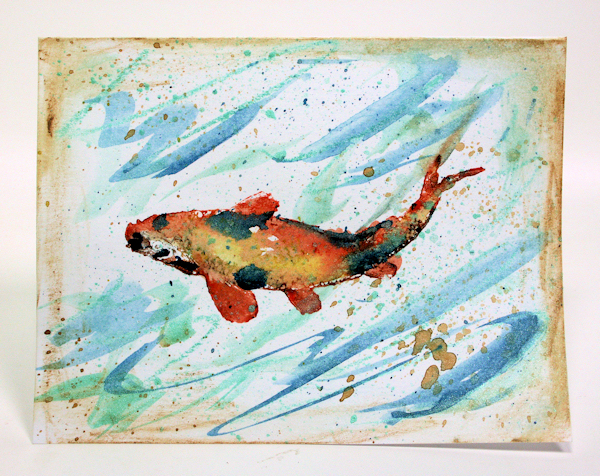
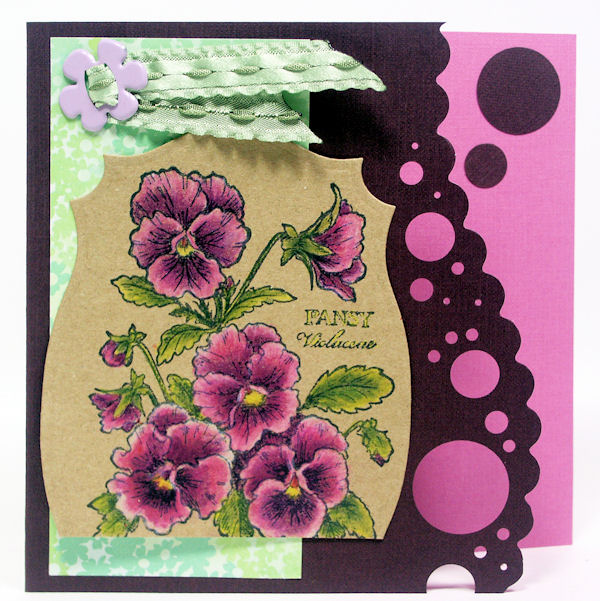
Howdy friends! If I had a nickel for every time someone asked me if I would do a tutorial on Spectrum Noir Pencils I’d a millionaire, well, maybe not but at least a hundredaire!  It was enough to make me spring for these pencils when they went on sale for $16 a set of 24 at Consumer Crafts two weeks ago. And because I am a sucker for free shipping I got all 5 sets and a new WeRMemory Keepers album because the Project Life one I previously ordered in a moment of temporary insanity was not cutting the mustard. Anyway, here is a card I colored with the new Spectrum Noirs, it took all of 15 minutes to color.

DCF 1.0

I have a bit of a colored pencil addiction, I love trying out new pencils! Since I have a few of the most popular brands I thought I’d compare them to the new Spectrum Noir pencils and see how they preformed, see my findings in today’s video:

Now, here is where I retract things I said that are wrong. Please refer to the below chart. Koh-i-Noor pencils are available open stock. I have only seen the woodless sets of 12 and 24 so maybe they have another grade of pencils that I am not aware of and maybe there are more colors. Leave a comment if you know.  There was a bit of controversy over the Spectrum Noir pencils being oil based. They preformed most like the Polychromos (the lead in the SNs was thinner and they were a bit less creamy and opaque) but I’d wager they were oil based if I had to guess but there may in fact be an oil/wax blend going on…oh heavens, does anyone care? I do not because they do what they were interned to do extremely well. They layer and blend well. They are translucent enough so I can clearly see my black stamped lines when coloring yet they are opaque enough to stand up on kraft cardstock, a very hip trend might I add. I would not use them on darker cardstocks but on mid-light they preformed very well. Here you can see some swatches and also the retail price for a set of 24 pencils across the brands reviewed (but you can always find them online for much less.)

DCF 1.0

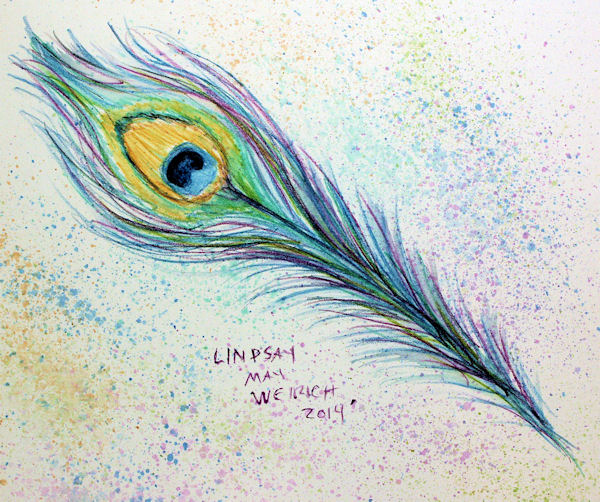
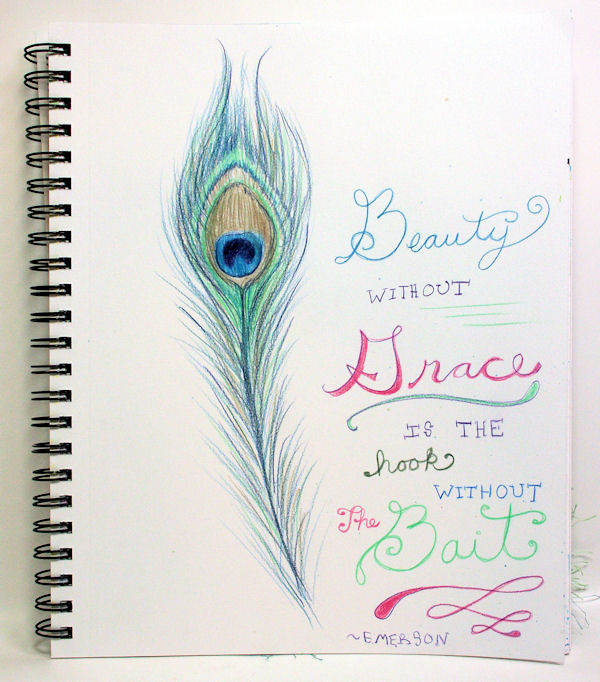
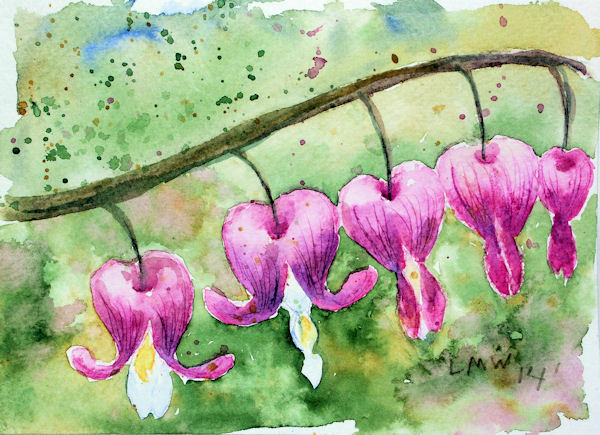
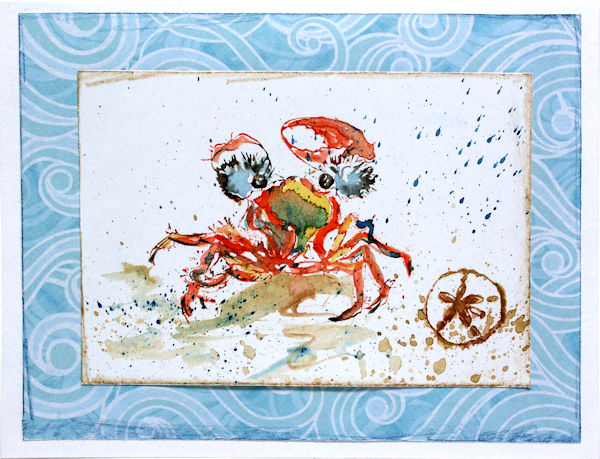
That said, the Spectrum Noir pencils would not be my first choice to create a painting with. I prefer the creamier properties of Prismacolor or Polychromos pencils. The Derwent Coloursoft pencils are nothing to sneeze at either but I have been using Prismacolor pencils since I was 5 and loyalties like that are hard to break. Now that brings me to another bit of controversy, Prismacolor pencils are now made in Mexico and their quality has declined (you can check out the Prismacolor vs. Polychromos review by Lachri Fine Art if you want to know more) and it is really too bad because Prismacolor was my favorite. All but 3 white pencils in my Prismacolor box are stamped USA and the ones stamped Mexico had off-center lead. I have not sharpened them yet so hopefully they are adequate, I find the white Prismas to me the most achy-breaky ones in the bunch. I had an imperfect stamped image on my table (the one I demonstrated in the video) and decided to color 4 of the flowers with 4 brands of pencils so you could see a side by side comparison. I think the Spectrum Noir pencils do what they are intended for. Coloring stamped images, I find I can color quickly with them and layer easily without losing the definition of my stamping. If you do not want to see your stamped lines then you can use lighter ink.

DCF 1.0

Bottom Line, these are fun. If your goal is to easily color stamped images on white to mid value colored paper these pencils are ideal and a bargain. If you are a colored pencil artist I think you would prefer a pencil with more opaque and creamy lead But since they layer really well and cost less than half of Polychromos pencils you might want to give them a whirl and maybe pick up a few light-colored prismas. Honestly the Polychromos are not terribly opaque either so you might want a wax-based white with those as well. I would be impossible for me to test all of the great pencils on the market (I’m a hundredaire remember…) but these are the most accessible to me and hopefully you. If you have any questions please leave a comment and I’d love to know what your favorite brand of colored pencils are. I have had several requests to compare watercolor pencils too so you can let me know if you are interested in that as well. Thanks for taking the time to read through this long post and til next time happy crafting!

DCF 1.0

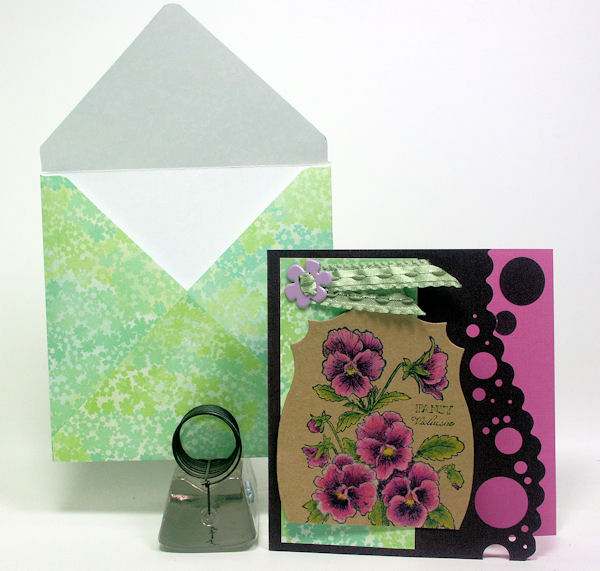
PS Quick tip! When making a card make the envelope first then use the scrap of leftover paper to embellish your card. Another tip, dig out the old-school deco-scissors and circle punches to cut a cool wavy border on the card. Using a two-tone cardstock like Doublemates makes the look really pop! Happy crafting!

Let’s Paint Impatiens!

Hello friends! Tonight I have a very easy painting tutorial. We will paint double impatiens using Inktense Blocks by Derwent and a waterbrush on 140# watercolor paper. I am using soft press paper by Fabriano which is a cross between hot press and cold press, it is quite smooth and similar to Rives BFK printmaking paper. I like the smoother finish for working with the Inktense Blocks or watercolor pencils because it makes it a bit easier to blend as there is no texture for the pigment to get caught in. But, really, you can use whatever paper you like, even a heavy weight mixed media or drawing paper. OK, enough gabbing, let’s paint!

Let me remind you again that you can follow along with watercolor pencils, watercolor crayons or even soft pastels. Try what you have before you buy something new. I really am enjoying the Derwent Inktense blocks I just bought (well, all except the flimsy packaging but we’ll talk about that later) but my style tends to be quick and loose. If your style is tighter you will prefer the pencils I think. honestly, I think the pencils are much more versatile but I have wanted the set of 72 blocks for a loooong time and I came across a good deal 😀 I hope you enjoyed this little tutorial and it inspires you to loosen up and paint from nature. Thanks for stopping by and til next time happy crafting!

Painting Peacock Feathers with Pencils!

Howdy folks! Today I want to inspire you to dig out your colored pencils and paint a peacock feather:

DCF 1.0

This one is done in Inktense watercolor pencils (and it is the one I am demonstrating in today’s video):

DCF 1.0

This one was done with Polychromos colored pencils:

DCF 1.0

You can use any kind of pencils for this but I like the watercolor pencils for vibrancy. Won’t you paint a long with me?

I also painted a 2 minute bookmark on watercolor paper. That is a fun no-stress project that makes a great gift!

DCF 1.0

Thanks for stopping by and til next time happy crafting!

Let’s Paint a Bleeding Heart Flower with Watercolor Pencils! {Beginner Tutorial)

Hello friend! I spent the day reorganizing and decluttering my studio.  About halfway into it I thought “What have I done!?!” (you can see the scary in-progress picture on my the Facebook page) but I am liking the way it is coming together now. If I feel ambitious I’ll work on it some more tonight…something tells me that the couch and TV will have a stronger pull though! 😀 I had a request to paint a bleeding heart flower and a few people wanted more watercolor pencil tutorials so here is what I came up with:

DCF 1.0

It is pretty simple to do, I daresay if you own watercolor pencils you can follow along with me with no trouble. Remember you can always pause the video if you need to.

I was caught by surprise a bit at the end of the video, to finish the painting I simply flicked some of the pink, green, blue and brown on the wet painting to add interest.This is easy, a great project to start with and we only used 5 pencils. I did use some of my watercolor paint at the end for the background but you can lift color off the pencil or not put in a background, it is totally up to you! Thanks for painting with me today and til next time happy crafting!

Watercolor Hydrangea Two Ways!

Hello friends! I have been having so much fun with water-media lately. I was stumped by what to paint the other day so I looked at my request list and painted a hydrangea. I did it both with watercolor paints and pencils and surprisingly I preferred the soft look of the pencils for this so I’ll show you that video first:

Actually I was not going to post the watercolor paint video. I was cut off at the end right before I said “bye” and the video was really bright because I had the “perfect auto levels” button pushed…perfect my foot LOL! It is kinda bright but I offered to post it if anyone was interested, don’t say I didn’t warn you 😛

Well, it looks like we are in for a whopper of a storm this week, please be careful if you are in the east especially if your area is not used to snow, I plan to make a trip to town tomorrow for necessities like the “store bought” valentines my daughters want to hand out (where did I go wrong?) and valentine party snacks in the event that school is not cancelled Friday and I need to think of a valentines gift for hubby. Any ideas? I was thinking of buying him some more stuff for his shop but clamps and wood glue are not that romantic. Oh well, i’m sure I’ll think of something:) Thanks for stopping by and til next time happy crafting!

Inktense blocks!!!

Yep, that is how excited I am, 3 exclamation points!!! I might get carried away and start writing in ALL CAPS too:) LOL! Thanks to reader Maureen for sending me a set of 12 Derwent Inktense Blocks to try. It was so thoughtful (she was probably sick of hearing me hemming and hawing about buying them ha ha:) so I opened them up and started playing when I had a few minutes today and of course I flipped on my camera and did a video, here are a few techniques I came up with:

They are fun! I can’t wait to have a moment to play with them some more, this is a busy week and I literally had to scrape myself off the couch to write this blog tonight so I apologize for any spelling errors and incoherent-ness that may be present.

BTW I have had some users say that videos were not loading for them and a viewer suggested unblocking things and updating things…really I am too tired to think so if you are having a problem or have a suggestion please leave it in the comments and you can help each other out with that. I know in my kindle lately I can’t watch any YouTube videos and it is an android device so there is definitely something going on. I’ll think on that some tomorrow:) For now it’s off to bed with me and til next time happy crafting!

Giveaway! Year of the Horse Stamp Set!

Howdy friends! I had another chance to play with my new Year of the Horse rubber stamps from About Art Accents (you can see another project with them here)  and here are the results:

DCF 1.0

2014 might be the year of the horse but I can see myself using this versatile stamp set over and over again in not only my Asian themed cards but in general cards too. Watch this video to see how I used my watercolor pencils to stamp and paint on plain cream cardstock. It is so easy!

Here is a close up of the finished card. If I didn’t use origami paper I think the card would have a Southwestern flair! Totally versatile!

DCF 1.0

So, now do you want to win these stamps from About Art Accents? Leave a comment and I will draw a winner next Friday the 24th! That’s all there is to it! Thanks for stopping by and til next time happy crafting!

One Sheet Wonderful!

Apparently I have been under a rock because I have never heard about one sheet wonder cards. Basically you chop up a sheet of patterned paper into a bunch of sizes and make a bunch of cards with it. It is a great way to stretch supplies or make the most of a favorite paper. Here is my first attempt:

DCF 1.0

Another thing I like about this clean and simple style of cardmaking is that it is a great way to showcase a focal point, in this instance some watercolor pencil stamped sea images from About Art Accents. I’ll show you a simple trick for cutting the sheet of patterned paper (we are going to dig out a moldy-oldie) and I’ll show you my latest method for using watercolor pencils to stamp. Have a look:

Here is the card from the video close up:

DCF 1.0

I had used up all of my paper before I made that card but hey, I think it is pretty without it. Sometimes I get carried away experimenting with my mediums and I end up with pretty little stamped panels but I have no way to use them all, this is perfect!

DCF 1.0

I keep all of my white scraps in a coupon organizer sorted by brand. I used my cheapest white cardstock for this (Gerogia Pacific) so I just kept experimenting on scraps until I got the result I wanted. This is my favorite!

DCF 1.0

I like this one too:

DCF 1.0

Since these cards are flat I can stamp a sentiment on them later with a clear stamp and have a custom card when I need it!

DCF 1.0

Or I can leave it blank.

DCF 1.0

I made some envelopes to match and put everything in a paper folder, both templates can be found at Green Sneakers.

DCF 1.0

Closed up, neat and tidy!

DCF 1.0

I made 12 cards in a sitting! Not bad.

Thanks for stopping by and til next time happy crafting!

Inktense on Fabric! Quilters Rejoice!

OK, I’m not a quilter, I don’t have that kind of patience but I’d heard that some quilters used Inktense pencils on their quilts so I had to have a go at it! I also really wanted to try it because for Christmas I gave one of my best friends a small tin of inktense pencils and she is a talented quilter and seamstress so I wanted to make sure it worked well before I told her about using them on fabric. Well, I really like the results on my craft-fair tool apron. What do you think?

Supplies:

Inktense pencils by Derwent

Textile medium (or any acrylic sealer like mod-podge)

a firm paint brush

a foam brush

black acrylic paint or fabric paint

bold clear stamps

An iron or heat gun for heat setting fabric

some natural fabric to stamp on

a spray bottle of water and also a bucket of water to clean brushes in.

Directions

  1. Stamp designs with black acrylic paint, heat set.
  2. color with pencils
  3. spritz with water and apply textile medium to lock colors
  4. let dry and heat set.

Watch the video for helpful hints and full tutorial! Thanks for stopping by and til next time happy crafting!