Hi friends! Wow, it is so gorgeous outside! We have unseasonably warm weather and the trees are all shades of red, green, gold and orange contrasted with bright cerulean blue skies! It’s a great time to live in Maine (do me a favor and remind me of this in January, OK.) I was keen to do some fall decorating so I bought some gourds and pumpkins and I thought I would do a simple still life for you!
And here is the photo I snapped.
Just to be clear, simple doesn’t mean fast LOL! This is a longer video but I didn’t want to skimp on technique or cut out portions that would be useful. I have had a lot of viewers ask about how I would paint a white object so I wanted to how that as well.
One more note, my YouTube tutorials have outpaced my blog posts so if you are looking for something new I have a couple new cardmaking tutorials up on YouTube that haven’t been posted here yet. I didn’t want anyone to miss out:) Happy crafting!
Hi Friends! Today I have a fun technique to share that will have you getting inky with your cardstock and stamps!
Watch the video to see how it’s done!
This video is sponsored by Rubber Stamp Tapestry Use coupon code: LINDSAY and receive 15% off your retail order of $10 or more of peg stamps, peg stamp sets, and unmounted stamps! Coupon expires a week from this video publication. Continue to receive great deals by becoming a PegStamp VIP here. As a PegStamp VIP
you’ll get a weekly deal via email plus links to fabulous tutorials by me, Lindsay the Frugal Crafter and other designers.
Ink up your cardstock with light and bright-colored inks. This will be the color that shows through your stamping.
Stamp images with clear embossing ink and heat emboss with clear embossing powder.
Sponge dark ink on top and let it sit for a minute so it absorbs into the paper.
Wipe off the excess with a tissue to reveal the embossed design.
I hope you try this with a variety of stamp images as the possibilities are endless with this technique! Thanks for stopping by and til next time happy crafting!
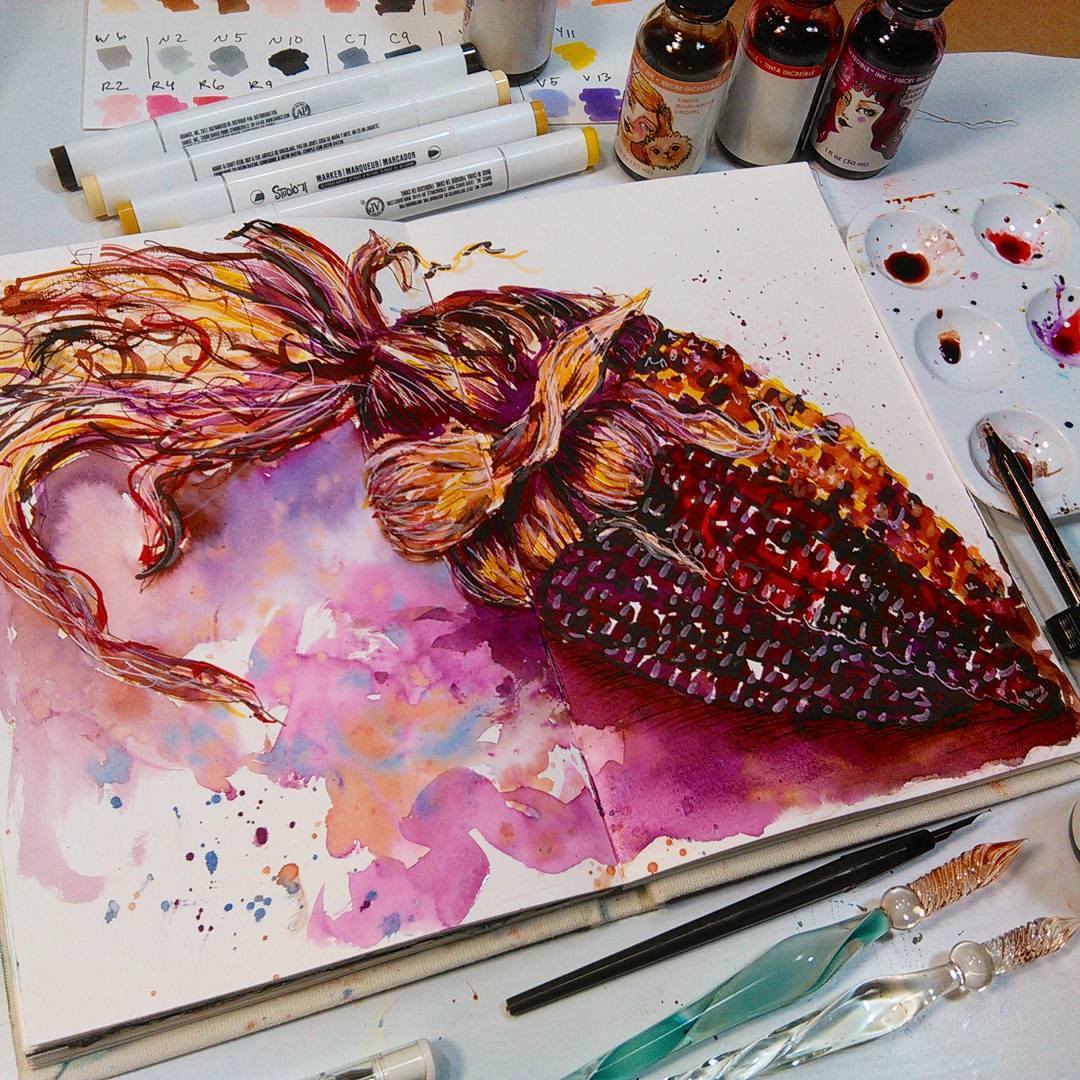
Update! Thanks so much for tuning in today! I think this was the best live show we have had in months! Here is the final painting from the lesson today:
Hi friends! I am back this week feeling much more caught-up, in control and relaxed (ohmm) so let’s have some watercolor fun! I was playing with a technique that I want to share: Packing Tape Masking! I am not a huge fan of masking fluid especially for a large area. It takes long to dry, it’s stinky and it can be hard to remove. I thought about using clear contact paper to mask off a large area but I didn’t have any so I grabbed the next best thing, packing tape! I wanted to test it out to make sure it worked. I wanted to be sure it didn’t let paint leak under and would come off my paper cleanly. The best part is I can sketch right on my paper, slap the tape down and cut off the excess! Instant gratification and so versatile!
Tip: Choose a packing tape that is not super sticky or press it against your clothes a few times to remove some of the sticky. Only press the tape down on the edges to seal out the water but not the middle so it will be easier to remove later.
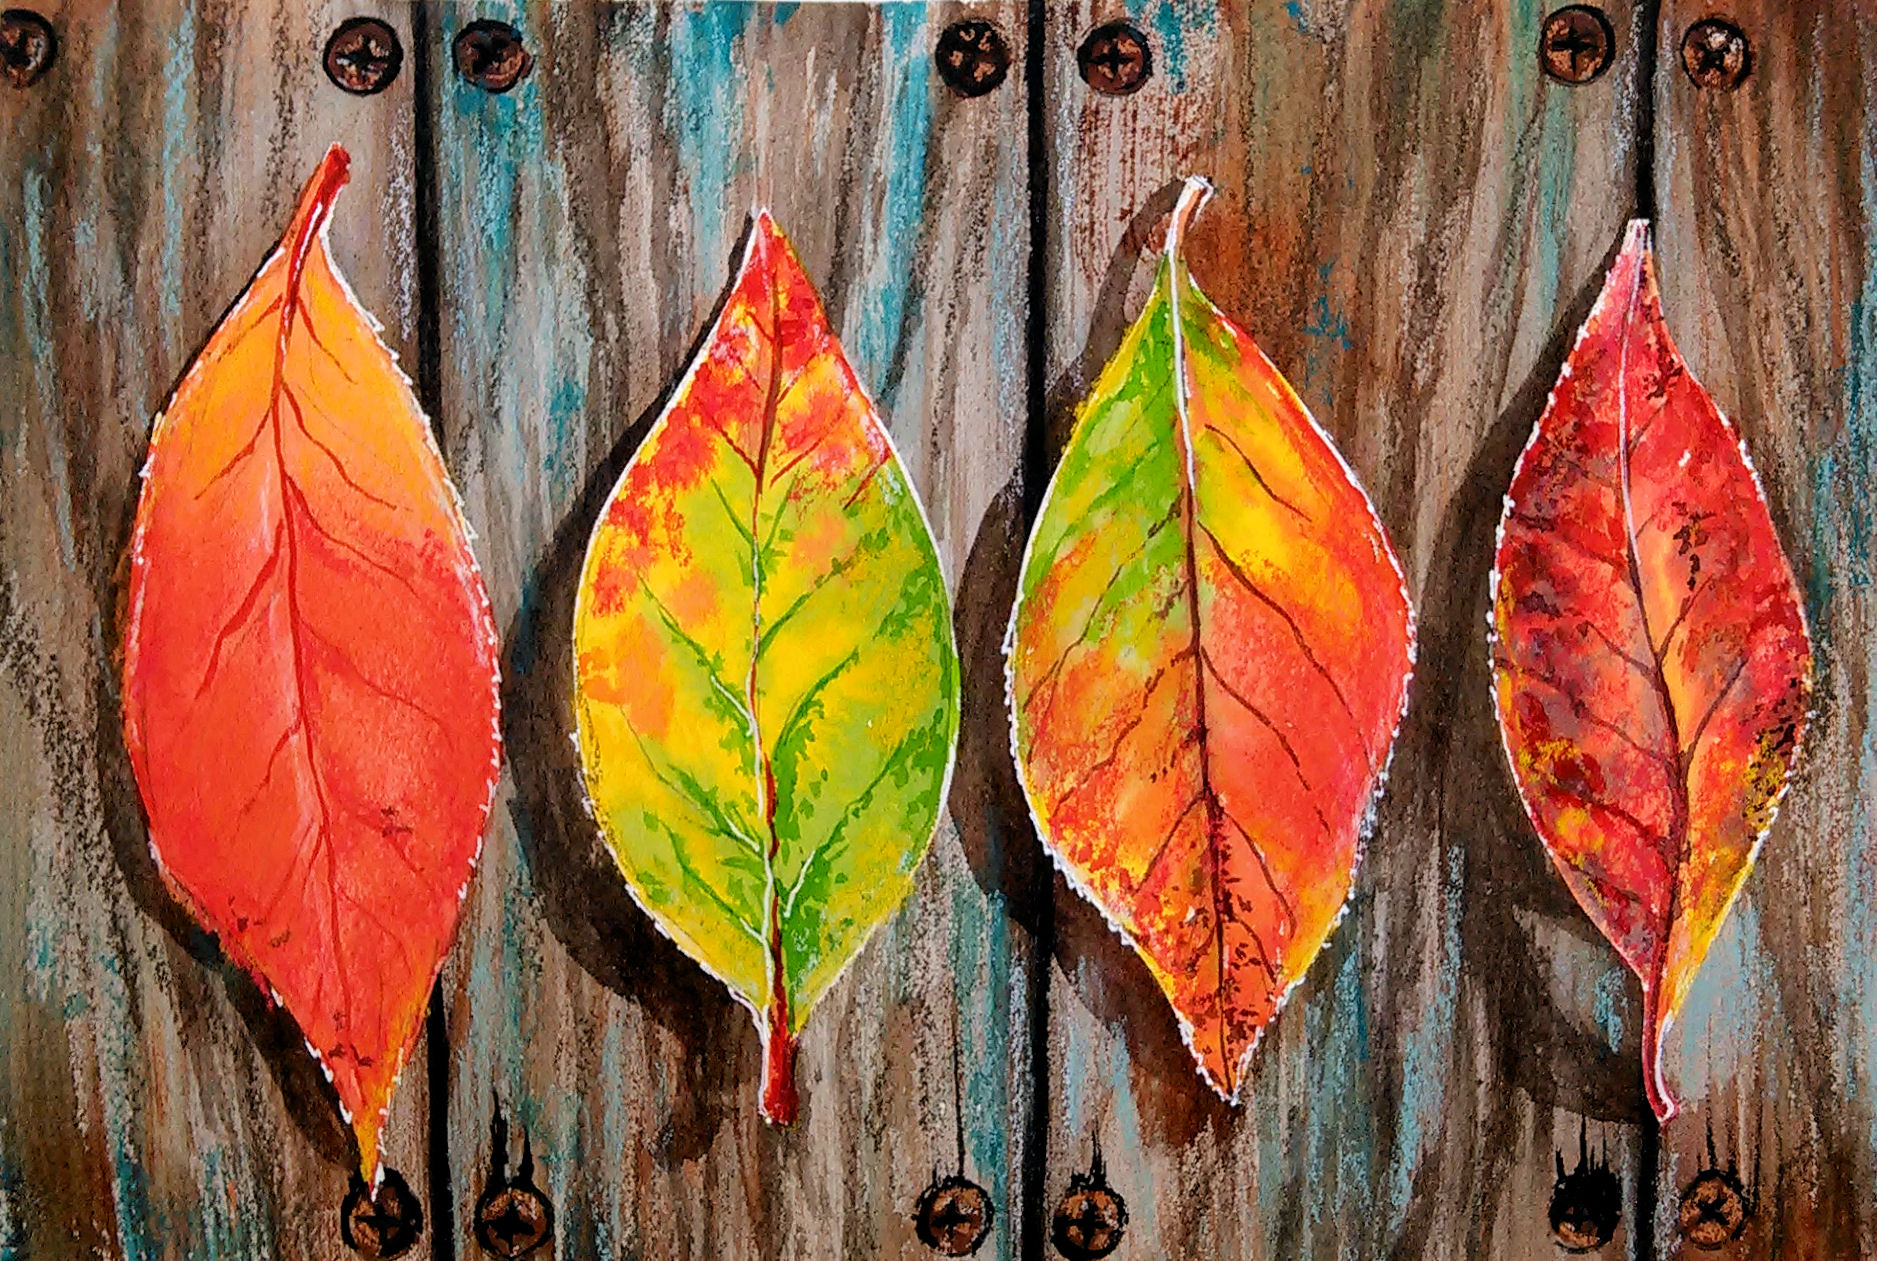
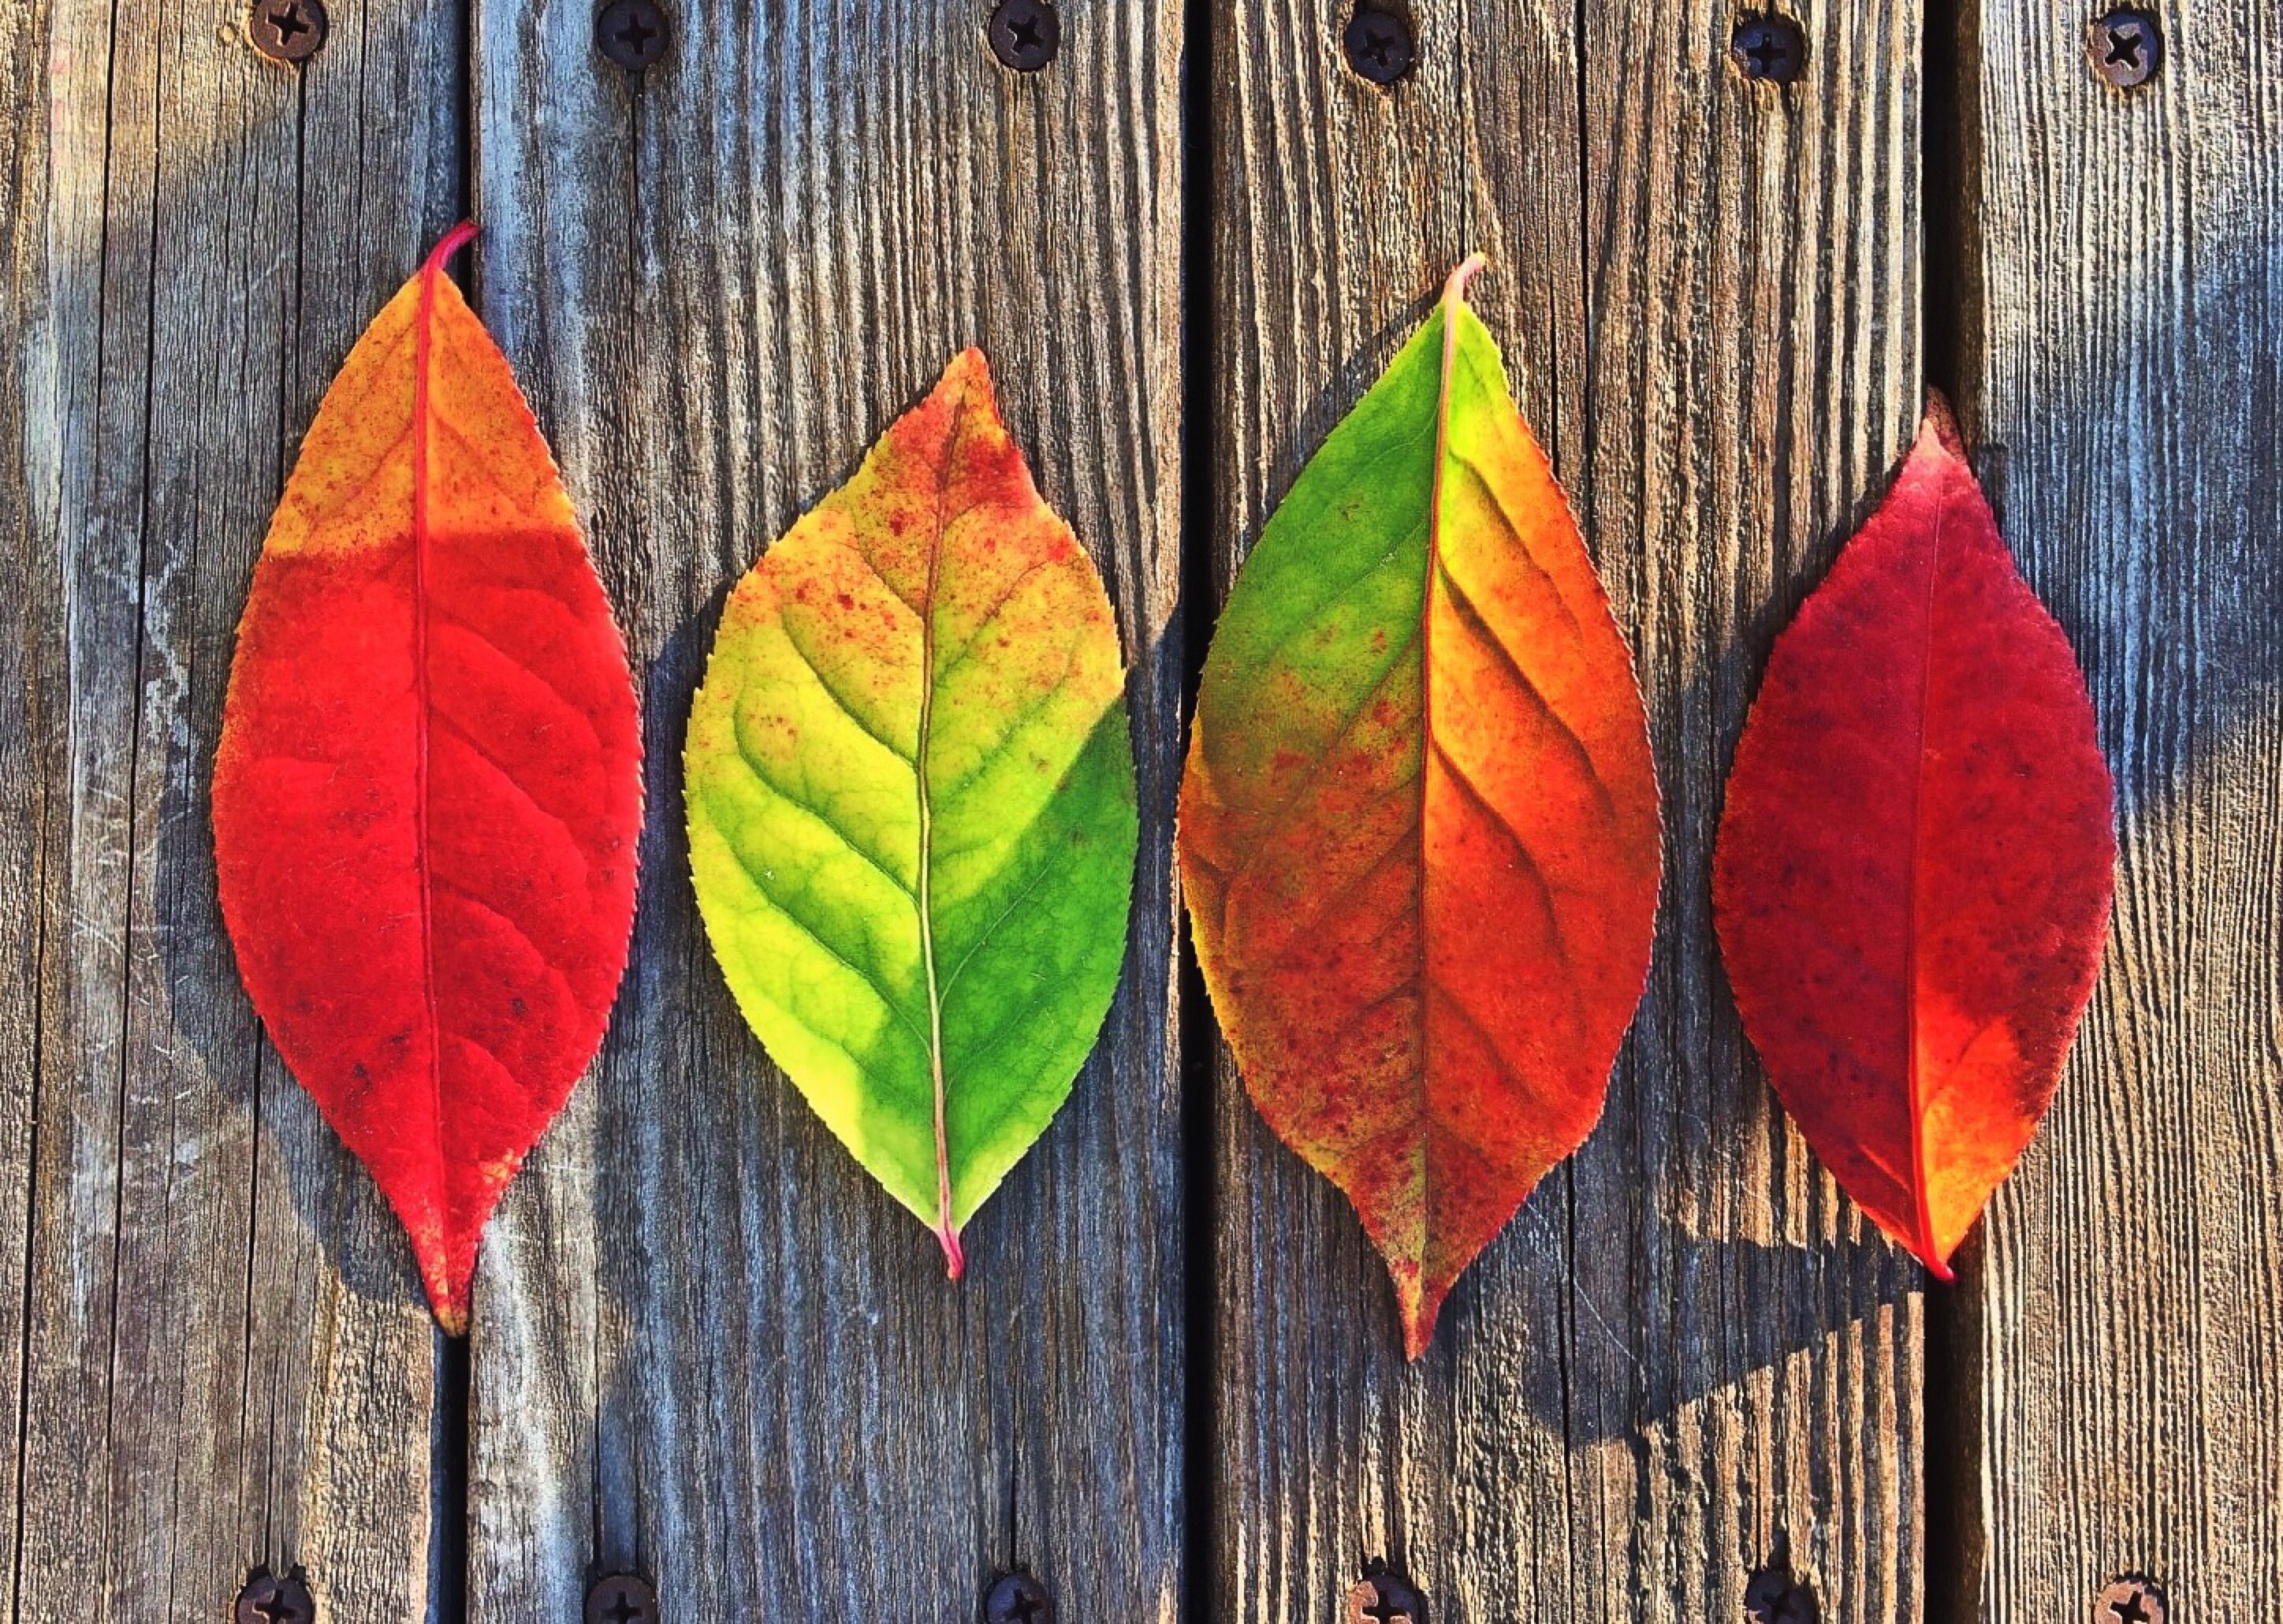
I wanted to paint from the reference photo below sho I could show some wood graining techniques but I didn’t want it to look fussy around the leaves. I wanted to paint right over them. Using this method will allow that. We will sketch this picture together during the live stream.
As always you can watch the live broadcast or the reply in the player below but if you want to chat live or ask me questions please tune in at 12:30pm ET on The YouTube watch page.
Supplies can be purchased from our sponsor Jerry’s Artarama: Use coupon code: frugal20FS49 for 20% off $49 + Free Shipping (Excludes: Sale, Super Sale, Egift Cards, Buy It Try It’s and Vendor restricted items. Look for the green coupon eligible icon on the product listing.
Watercolor (Turner) burnt sienna, burnt umber, permanent yellow light, Sap green, pthalo blue, Ultramarine, Turquoise, yellow ochre, pyrrole red *All from turner set of 18 on sale for $19.99 today!
Other: Packing tape, X-Acto knife, waterbuckets, paper towels
*** I might add in a white gel pen and pastel pencils so if you are curious about those supplies let me know!
During the live shows I am often asked “what are your favorite (insert art supply here) so I made a favorites list here you can check out. I will add to it as I think of things, I’ve tried sooo many products but I am just sticking to the things I use a lot and would recommend first on that list. Also shopping from that list helps support my free tutorials so thank you:)
I hope to see you at 12:30pm ET today and til next time happy crafting!
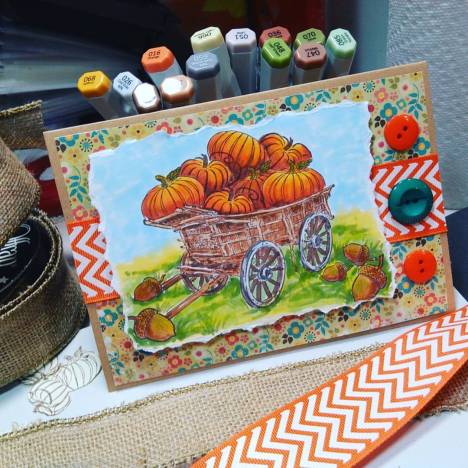
Hi friends! I am so excited to offer another giveaway this week and it’s only Tuesday! I will be giving away the stamps I used to make this card and all you have to do to be entered in the drawing is to leave a comment. This is open worldwide! I will pick a winner and notify them via email in one week!
I used 6 stamps to create this image and I will teach you how to use masking to make your stamps more versatile. The wagon and pumpkins are separate stamps. Knowing this technique will allow you to fill this wagon with many other items so you can use it for more occasions. I bet you have stamps at home that would be more versatile if you tried masking. I will also show you how to color this scene.
Video!
Sponsored by Art Neko *Save 10% off your next order of any size or get free shipping on orders over $50 (whichever discount is greater you get!) just by mentioning thefrugalcrafter!
Supplies:
Stamps (art neko) Fall Images
Ink: Memento Rich Cocoa
White Cardstock: Neenah Classic Crest
Kraft card base
Patterned paper (My Minds Eye)
Printed Ribbon (Offray)
Buttons
Alcohol Markers (Blick)
Colored Pencils: Spectrum Noir Color Blend
Glue: Beacon 3-in-1
Don’t forget to leave a comment for a chance to win. Also I’d love to know if you have a stamp you are going to try the masking technique with, let me know that in the comments too. You guys have really great ideas!
In case you missed it I am giving away a spot in Angela Fehr’s Creative Watercolor Course and offering a 51% discount on it, please check out yesterday’s post for more info:) Thanks for stopping by and til next time happy crafting!
Hi friends! Last weekend I shared my Dollar Tree haul complete with items I bought to decorate my front porch. I also bought some hay bales, mum, cornstalks and pumpkins to complete the look.
I really had fun decorating the porch this year, I usually reserve the major decorating for right before Halloween but I am glad that I started early so I can enjoy this all season. Here are some photos if you want a closer look at anything.
Full disclosure on the railing, the leaves are starting to dry out and turn brown. I think next time more Dollar Tree leaf garlands or plain berries. It’s OK, it will be nice and “Addams Family” looking for Halloween. It will match the dust and cobwebs inside LOL!
I hope you liked my little porch. Do you have your fall decorations up yet? What is your favorite fall decorating tip? Thanks for stopping by and til next time happy crafting!
Hi friends! Today I will share the techniques to make this card:
I will show you some colored pencil techniques and also show you how to cut your design (use whatever cutting tools you have) to make the layered panels. It’s a lot of fun! I am using Fall themed stamps from our sponsor ArtNeko. Mention thefrugalcrafter when you order to save 10% on any order or free shipping on orders over $50, you get whatever deal is better:)
Now on to the video!
Supplies:
1 sheet kraft cardstock
1/4 sheet of yellow, green and coral cardstock
Colored Pencils (I used Coloursoft by Derwent) Stamps Foil leaf charm
Wooden buttons and ribbon
Adhesive
Dies or stencils to trace for the shapes
Trimmer, scissors or craft knife.
Directions:
1. Stamp leaves on kraft panel and color with pencils.
2. Using nesting dies or a stencil cut the stamped panel in different sizes of the same shape as shown in the video.
3. Mat the die cut panels on green cardstock (or color of your choice.)
4. Reassemble the stack of panels and adhere to the card.
5. Embellish as desired.
I hope you try these techniques, you can use any shape to make your layers, circles and squares are simple but look terrific too! Til next time happy crafting!
Hi friends! It is beautiful, sunny unseasonably warn September day in Maine and I have a cold. I have been lounging on the couch trying with no luck to sleep so I can get this illness over with. I feel so lazy, at least I got to be creative yesterday and make these tags:
They were a lot of fun to make and easy to batch out. Watch the video to see how!
Tutorial for DIY spray ink, I used gold in the tutorial but you can use any fall colors in lieu of the powder color
Recreate this project using the themes you like and the products you have but if you need a large quantity of really useful tags be sure to visit our sponsor Papermart! They have lots of other goodies too! Now it’s time for me to brew another pot of tea and try to steam away my head cold! Thanks for stopping by and til next time happy crafting!