Hi friends! Happy Thanksgiving to all of my fellow Americans! It’s pouring rain here in Maine today which is weird for Thanksgiving but I think we can agree it’s a weird year so I guess it’s par for the course. Today I have some beautiful and funky Christmas cards to share.
We will use some new and old supplies and play with lot’s of techniques that you can adapt to your next card projects.
This is a live narrated video so join me for laughs, mistakes and a lot of fun!
This video is sponsored by Top Flight Stamps! SAVE 10% off your next order with coupon code: thefrugalcrafter10 *USA orders of $50+ ship free!
Hi friends! There are so many cool supplies coming out every day that we can easily be distracted from the gems we already have in our stash. Today I am going to share my top tips and techniques for using chalk. When I say “chalks” I am talking about soft chalky pastels, decorator chalks or even eyeshadow. I bet you have something in your house that will work for these techniques!
I will share techniques using inexpensive supplies from pencils, to pastels to eyeshadow and the neat thing is that for many techniques you can use any of them. I hope this helps you get more use out of what you have or choose the right product if you are looking to add chalk to your stash. Please note that colored chalkboard chalk is not pigmented enough for good results.
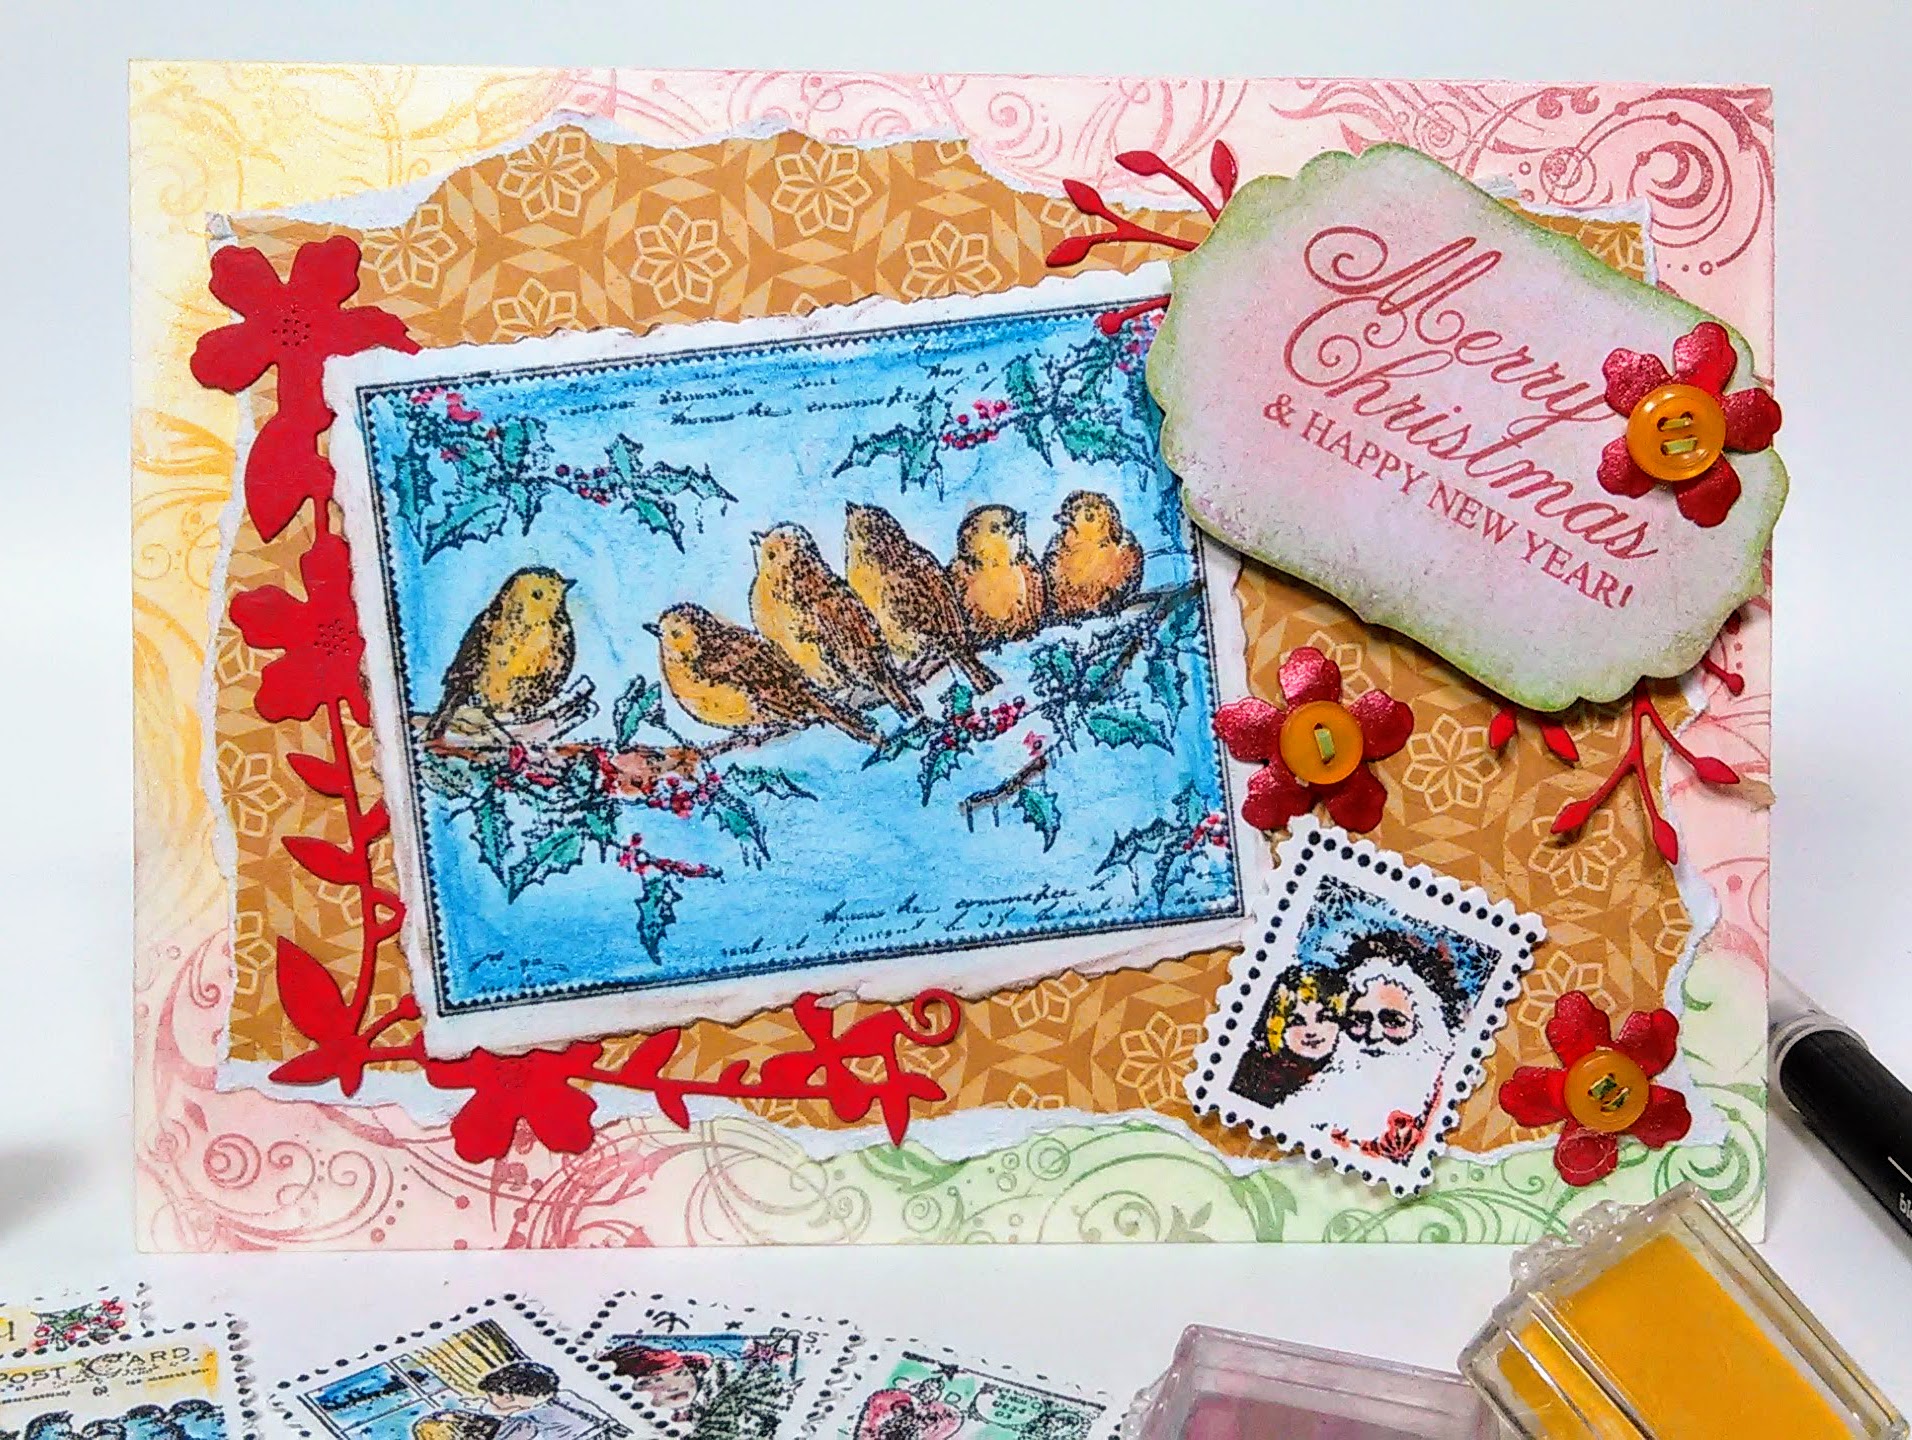
I love the “photo tinting” feeling I get using chalk to color these vintage stamped images from our sponsor Top Flight Stamps(Use coupon code thefrugalcrafter10 to save 10% on your order, also USA orders over $50 ship free!) Speaking of photo tinting you can print out photos in grayscale and use the dry techniques to tint them with chalks. It was one of my favorite Scrapbook techniques…I really need to do that again!
So, Are you ready to rock your chalk? Watch the video and get started!
Stamps from our sponsor Top Flight Stamps: Rememer save 10% with coupon code thefrugalcrafter10 at top Flight Stamps and USA orders over $50 ship free!
Instead of cardstock Smooth Bristol will allow more blending because it has a more robust surface.
In praise of vegetable glycerin! As you know from this very silly video I love to make my own supplies using glycerin. I use it to re-ink my embossing ink pads and to make homemade pigment ink. I also use it with water to rejuice my waterbased blending pens. It is useful in cake decorating and candy making as well as DIY beauty products. Also a little goes a long way and it is so useful! I had a viewer on YouTube ask if they could use a waterbrush instead of a waterbased blending pen for the brush technique. You can, however I recommend working on watercolor paper if you do as a waterbrush is going to give you more of a watercolor look at the extra water will pill ordinary cardstock. It is the glycerin in the blender marker that lubricates the tip of the marker and lets the media glide across the cardstock and that is why I recommend that method. If you don’t want to get a waterbased blending marker simply dip a pointed q-tip in the water/glycerin mix and use that, it will work the same. 😀
I hope you enjoyed this video. I worked really hard on it and I’d like to make more overlooked supply focus videos in the future so if you have any ideas on what supply to feature next let me know in the comments below. If you like this video I’d love it if you shared it on social media using one of the handy sharing links below. Thanks for stopping by and til next time happy crafting!
Hi friends! Today I want to share a card idea you can adapt for any occasion:
Watch the video to see how easy it is!
Tutorial sponsored by Rubber Stamp Tapestry Take 10% off your mounted stamp order with coupon code: THANK YOU ****AND*** Visit Rubber Stamp Tapestry for deeply discounted stamps and products throughout the month of December. Coupon expires July 3, 2017
Well sized cardstock or Bristol board (I am using Canson XL Bristol board)
Directions:
1. Stir masking fluid. Coat paintbrush with dish soap and dip brush halfway up the bristles in masking fluid.
2. Paint whatever word you like on cardstock. This word will remain white. The masking fluid protects the white of the paper. You can either work directly on a card base or you can trim a piece of cardstock and adhere it to a base later.
3. Select a stamp (I like to pick a different stamp for each letter but you can use as many or as few as you like) and ink pad for your first color. Stamp above a letter then off stamp on the letter without reinking. Keep stamping on the letter until no ink remains on the stamp. Stamp below the letter then off stamp in and around the letter. Repeat this until you have as much color as you like and then do it with your next stamp/ink combo on the next letter until you have completely covered your “word” with ink.
4. If desired use a sponge to fill in any areas with ink.
5. Blot excess ink off the masking fluid word with a paper towel then gently rub the masking fluid off the paper to reveal your clean white word.
Options! If you like you can add outlines or doodling with a pen!
Masking Fluid Tips:
1. Do not let your masking fluid freeze or it will be ruined.
2. Stir masking fluid before use.
3. Always soap up your brush before using masking fluid or it will be ruined (and wash the brush afterwards!)
4. Test the masking fluid on a scrap of cardstock you plan to use to test for compatibility. Paint it on and let it dry, then peel it off. If it peels away clean it is good to use, if it rips the paper find another cardstock to use.
5. Do not use a heat tool or hair dryer to dry masking fluid, it might bake it to the paper permanently.
Thanks for stopping by and til next time happy crafting!
Hi freinds! This fun technique can be done with the supplies you have on hand!
And it’s another quick and fun technique that you can use on holiday cards! Watch the video to see how!
Sponsored by Art Neko *Save 10% off your next order of any size or get free shipping on orders over $50 (whichever discount is greater you get!) just by mentioning thefrugalcrafter!
Supplies:
Stamps from Art eko, available individually or in a set: Large pinecone, Holly, Small Pinecone
Photo paper (any brand)
Water based markers (any brand)
Basic cardstock and patterned paper
Other embellishments: bakers twine, burlap, buttons
Stamp blocks or plastic
Directions:
1. Color a stamp block with light shades of marker, spritz with water and stamp directly on photo paper. Let dry.
2. Ink up rubber stamp using markers to color in specific colors and stamp over dry background.
3. Tear around images and mount of cards. Embellish as desired.
Ihope you give this a try with the supplies you have on hand, happy crafting!
Hi Friends! Let’s use up out stash and make Christmas cards! It feels good to use up what we have rather than buying new. Today I am going to share a way to revamp your old pattern paper and use up washi tape and give you some ideas for duct tape too! If you don’t have washi and duct tape simply cut pattered paper into strips and adhere them with glue. It will be just as cute!
The duct tape and backing paper I am using is from Oriental Trading Company and the pen and adhesive are from Tombow. Do you want more quick and simple Christmas card ideas? Let me know in the comments and if there is interest I will make more! Thanks for stopping by and til next time happy crafting!