Hi friends! Today I am going to share a flip through of the scrapbook calendar I make my parents for Christmas.
This would also be a thoughtful gift to make for a new parent, you can decorate too, just leave out the photos so a parent can add them! That way a new mom and dad can effortlessly record baby milestones and doctor visits (height/wright etc.) and paste in photos and they have a complete baby book at the end of the year. That’s actually How I prescrapped my twins baby books before they were born and it worked great, otherwise they wouldn’t have a baby book LOL!
Details:
I print my calendar pages on cardstock at home using this free website
I use a comb binding machine to bind my pages. The machine I have is old and discontinued but this is cute and cheap. I like this because the binding combs are standard, easy to find, come in lots of colors, and are inexpensive
You can also use a crop-a-dial to punch through multiple pages at once (as shown in the video) if you have one (PS this is one of my most used tools!)
I have a couple of tutorials o paste scrapbook calendars here and here.
Why wait, you can print out next years calendar and get a head start! Maybe decorate the pages month by month as the events happen and at the end of the year you have a beautiful memory! Another thought is that you can take the comb binding off and put the pages in a standard office supply binder and have a scrapbook, you could put several years in one! I hope you like this idea and give it a try. Happy crafting!
Hi friends! I am sorry I did not share this sale earlier but it is a great one! 25% off your total (non-sale) purchase at Consumer Crafts! The also have free shipping on orders over $75!
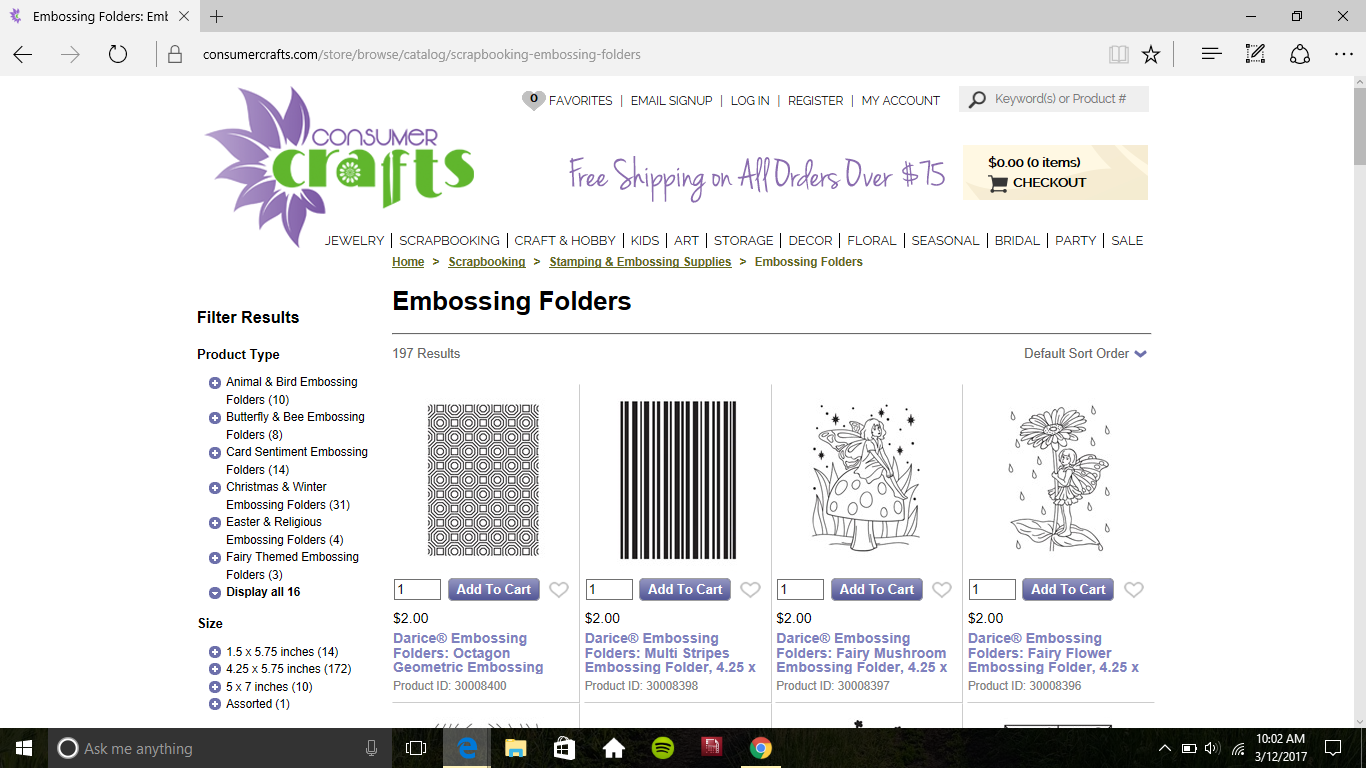
They also have their embossing folders on sale for $2 each! It is a great time to stock up, it is where I bought most of mine because you can’t beat the price or selection but they do sell out fast so don’t delay.
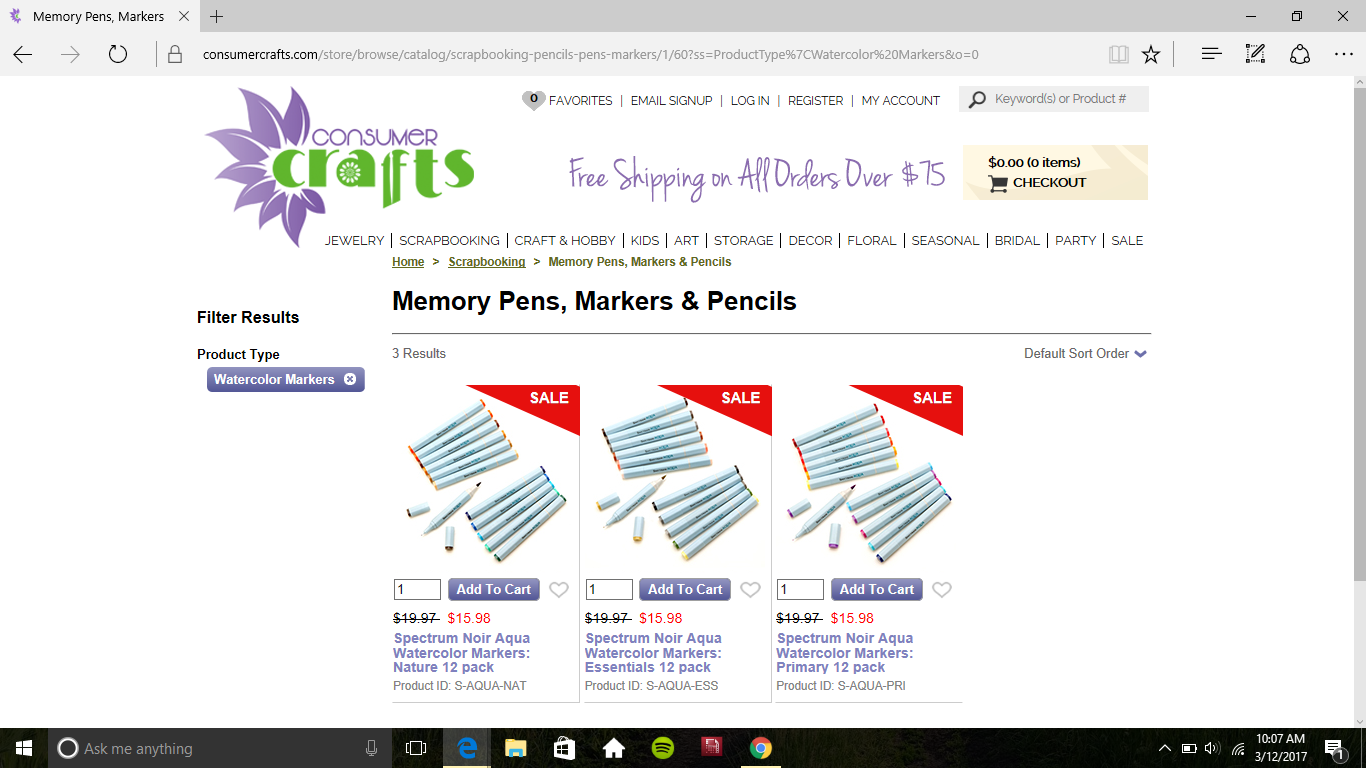
They also have the best prices on markers and colored pencils from Crafter’s Companion so if you have been waiting for a deal to buy these the time is now! They even have the watercolor markers I use a lot for stamp school on sale for under $16!
They also sell a larger variety of craft supplies from painting to floral to jewelry making and storage so if you are in need check them out today when they have 25% off your total order. Any thing you purchase at Consumer crafts after clicking my special discount affiliate links in this post also help support the free tutorials I post here and on YouTube and I thank you for your support! Happy shopping and crafting!
Hi friends! Today I am going to show you how to make a woven album cover so you can turn any store-bought book into a treasured keepsake. I think this would be great for a guest book at a wedding or baby shower. I am using ribbon from Offray in this project. Be sure to check out the supply list below. Watch the video for a full demonstration:
For this tutorial I am using 1 1/2″ wide single faced satin ribbon, it is available in an assortment of colors so pick your favorite!
I used Contessa Ribbon in color Buttercream
and Navajo turquoise Single Faced Satin
Other supplies:
2 sheets white cardstock
2 pattern papers (end papers)
Store bought album to cover
Dry adhesive (such as ATG tape) and hot glue
Directions:
1.Trim the white cardstock and pattern papers to the same size as your album’s cover.
2. Cut you first color of ribbon 4 inches longer than your album is long and attach them to the short edge or the cardstock.
3. Cut your second color ribbon 4 inches longer than your album is wide and attach it to the inside edge of the album cover.
4. Attach the cardstock with the ribbon attached to the back to the front of the cover so the ribbon is toward the edge with the spine.
5. weave the ribbons together.
Flip the book over and adhere the ribbon ends to the back of the cover. Glue end papers (the scrapbook paper) over the messy ribbon ends.
6. Embellish as desired.
That’s all there is to it! Thanks to Offray for sponsoring today’s blog post, thanks to you for reading and til next time happy crafting!
Hi Friends! Today we will make a scrapbook page! You only need watercolor crayons, white cardstock or hot press watercolor paper, stamps (Bugz set and background) and a journal stencil. The stencil and stamps are from Lost Coast Designs. You will also want a black pen and colored pencils if desired. You can make this an art journal page too if you like but if you are making a scrapbook page you will also need photos and adhesive!
Watch how easy it is to make this!
The video is a bit long, I almost feel compelled to apologize for it but I have had so many people tell me how much they enjoy the longer videos because it feels like they are crafting with a friend. Awww, thanks guys:) That makes me so happy! I guess it is nice to have a mix of both:) I hope you try some artsy limited supply scrapbook or journal pages. You will be surprised at what you can do with just a few things! Thanks for stopping by and til next time happy crafting!
Hi Friends! I love it when my kids make gingerbread houses. I love the creativity they have when decorating them. This year for the first time the kids were able to assemble the houses too! I thought they might be too old for this craft but they said “No way!” they still wanted to make them and of course they each had to have their own!
I was inspired to scrapbook these picture right away because of the brand new die cut adhesive ribbon I received from Offray. This product will be available soon in stores and on their website but you get a sneak peek of it in today’s video!
The self adhesive ribbon was so easy to work with and really flat which is nice for scrapbookers who do not want a lot of bulk in their albums and card makers who do not want to pay extra postage for lumpy items. I love to use traditional ribbon too so I used some narrow grosgrain because it adds a great texture without fraying:
Here is a close up look at the other page:
I kinda hate to tease you with new stuff that is not available yet but there are lots of other wonderful ribbons from Offray on their website and you can save 15% off your next order with the code Frugal15 Though 12/31/14. Thanks so much for stopping by and til next time happy crafting!
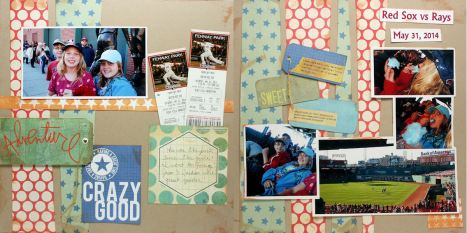
Hi friends! I wanted to do a bit of fun scrapbooking yesterday and thought that I would turn on the camera when I did. Little did I know that the these of the video would be scrapping with only paper and photos and tips for using both. I made this 2 page layout in under 30 minutes:
Meaningful pages do not have to take a lot of time or cost a lot of money to make. In fact I think using the supplies you have on hand is best for 2 reasons: Less choice so it is quicker and less money because you shop your stash. If you are about to do some scrapbook shopping keep my tips I share throughout the video in mind so you can make wise pattered paper choices. I’ll type more tips out for you below as well. I hope you enjoy this chatty video:) Grab some photos and it will be like we are cropping together!
Since I talked so much (and so fast, sorry about that guys) I wanted to write out my tips and specific items I mentioned in case you wanted to find out more. First, here are the supplies I used on the page:
2 sheets 12″x12″ cardstock (kraft colored)
2 sheets patterned paper (stars and dots from a $5 CratePaper/American Crafts 12″x12″ pad on sale at ACmoore)
3 sheets of patterned paper from a Heidi Swapp/American Crafts pad (also a $5 deal at ACMoore)***This paper I refer to as “embellishment paper” because it contains a lot of elements that can be cut out to use as journal cards and embellishments. (not to be confused with the embellishment paper that Making Memories used to make) I save all of the unused parts of this papers for future layouts, it is really handy because it coordinates with the other papers in the pad. Look for paper pads that have these “embellishment papers” in them because they make scrapbooking cheap and easy!
X-Acto knife and metal ruler/scissors
Dry Adhesive & foam tabs if desired
Brown ink pad if you like the look of inked edges.
Tips for embellishing with patterned paper:
1. Use a natural background like kraft, black or white.
2. Choose papers with patterns of different scale, notice the star print is small and the dots are medium.
3. Choose paper that has journal blocks, cards, banners and tags that can be cut part giving you many ways to use one sheet.
4. Save leftover scraps from your project together in a page protector and you have a future layout ready to go!
Tips for photos {I print mine from home!}
1. I use generic HP02 ink cartridges (6 color set is $5 on amazon and works as well as the $40 HP ink) and Canon Pixma paper, also purchased on amazon for about $12/100 pack 8.5″x11″
2. Print your photos in a collage. I used Paint Shop Pro to arrange these because they needed corrections (they were taken with a low-end camera phone) but for most printing I use the free ipiccy online software.
3. Print dates and titles in leftover areas of the page (if you have any) not only will it help you remember but it is also another page element for no extra cost!
4. If you are printing at home you can use dye based ink to ink edges or rubber stamp on your photos BUT avoid using photo-polymer stamps on your home printed photos because they may bond with the slick photo paper.
5. Store your photo collages in 8″x11″ page proctors (cheap at the office supply store) right in your scrapbook until you are ready to scrapbook them, that way they are organized, you can still flip through and enjoy them and if you never scrap them it is not the end of the world. You have them printed, yeah you! You win the day!
6. This is an organizing tip. Download photos every month from your phone, camera, tablet and Facebook (download any photos you are tagged in and want to keep, they will not be the best quality but they are memories and you should print them, they will look OK if kept under 4″x4″.) Then print out a bunch of photos at a time every couple of months OR upload them to a photo lab to have them printed. You can even have them uploaded to Target or Wal-Mart and pick them up in an hour. There is no excuse, you can do this:)
Biggest tip!!! Don’t worry about being perfect, just capture the memories and have fun. There is no wrong way. Your way is perfect! Thanks for stopping by and til next time happy crafting!
Hello Friends! As I mentioned on Facebook I am having a bit of a vacation this week but do not worry, I have lined up tutorials for you every day on my blog and have fresh new videos appearing each day on my YouTube channel lest you suffer from Frugalcrafter withdrawal. I just won’t be online this week. Time to unplug and enjoy my family. I thought this would be a good time to share some scrapbook ideas, thoughts and tutorials with you since I had such a overwhelming response from THIS POST. Overwhelmingly the comment I heard most when I asked “Is Scrapbooking Dead?” was about photos. What was the best way to print them? So I will tackle this topic today!
I hope that gave you some ideas for dealing with your JPGs. The collage software I mentioned is called Ipiccy and it is great, you will see me use it later this week. Please excuse any typos in this weeks posts, I am in a mad dash to line them all up before I go offline for the week! Thanks and happy crafting!
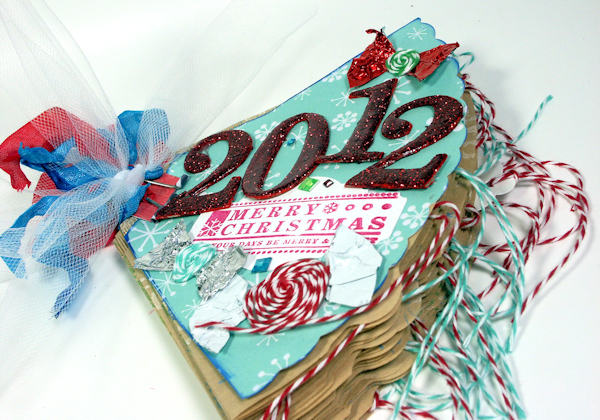
…you’ll just have to watch the video to get that reference. Kidding aside, can you believe it is just 25 days until Christmas? There are so many things to do this month: Parties, concerts, plays, decorating, cooking, cleaning (no seriously, I do from time to time) and entertaining! Who has time to scrapbook? But what if you could put a book together cheaply, quickly and easily so you could just jot stuff in as it happens and enjoy the month guilt free? Well, my friend you can, and I’m gonna show you how!
That’s pretty chic huh? And it is made from coffee filters! I had hundreds of them left over when my coffee make broke and they do not fit my new machine. The fancy bakers twine, tags, rhinestones and other odds and ends are fromPapermart. Let me tell you folks, if they sell it they will have the best price, often times by as much as 50% so check them out if you are in need of some crafty goodness 😀
OK, folks, this is an easy project but the video is a bit long so grab your favorite beverage (Whatever you want, I don’t judge LOL), sit back and watch some scrapbook magic happen…no wait, can’t say that with a straight face…I mean, we are using coffee filters…maybe not magic per say but some darn nifty crafting!
So, are you ready to give crafting with coffee filters a try? Do you have a Bobby McFerrin song stuck in your head! well, welcome to my crazy world then!
Got questions? Leave a comment and I will get back to you. Have a wonderful weekend and til next time happy crafting!
Happy Wednesday folks! Last week I posted a recipe for Hybrid Art Clay and I had lots of sweet comments on the tutorial. I also had a request for a video showing how to make the clay roses. I decided to film a tutorial on how to make them as well as these simple Calla lilies:
That would also be pretty for Mother’s Day! I’ll also show you how to make the fluffy stamens from wire and styrofoam!
Here is a look at the roses you will also learn to make in todays free video:
The video is shot in frame (gasp!) so you can actually see what the heck I am doing (I really hope you appreciate this because I had to re-shoot it LOL!)
Because it is What’s On Your Workdesk Wednesday I’ll show you a picture of my clay drying rack I made from old wire storage cubes. Do you remember those? They used to always go on sale for $10 a set at Ames about 10 years ago and I probably bought 5 sets ha ha! I like how you can re-configure them in minutes and then take them apart and store them in a flat stack. I explain how to make it at the end of the video but in case you don’t make it that far I’ll recap. Assemble a 5 sided cube with the metal sections and corner connectors. Use small binder clips or zip ties to place as many shelves as you need inside. I used binder clips (you can get packs of 12 clips at the dollar sore) so that I can quickly take it apart. The clay is light so the clips are fine. If you want to use this for storing paper you can, just use zip ties instead to make it strong enough. I lined the shelves with window screening (you could also use sheets of plastic canvas) so the clay does not fall through but also so that air can circulate from all sides preventing warping and hastening drying time.
I did a little research and found that you can still get these but the price is higher. Target has them for the lowest price, around $25 online but I’d call before heading out to your local store to make sure they carry them and that the price is good. They were $44 at other stores online like walmart. Or wait for a yard sale, for some reason people like to get rid of these, little do they know how handy they can be!
That’s all for today and til next time happy crafting!