Hi friends! I have a cardmaking tutorial for you where we will use the stamp positioner I showed you in SS#8 and we will talk about what to do with the insides and backs of cards. We will also use the clear embossing ink I showed you last week with chalk for a background, Fun!

You can do as much or as little as you like, here are some ideas in today’s video.
Supplies:
Supplies:
1/2 sheet of white cardstock
12″x12″ sheet of patterned paper
Stamps:
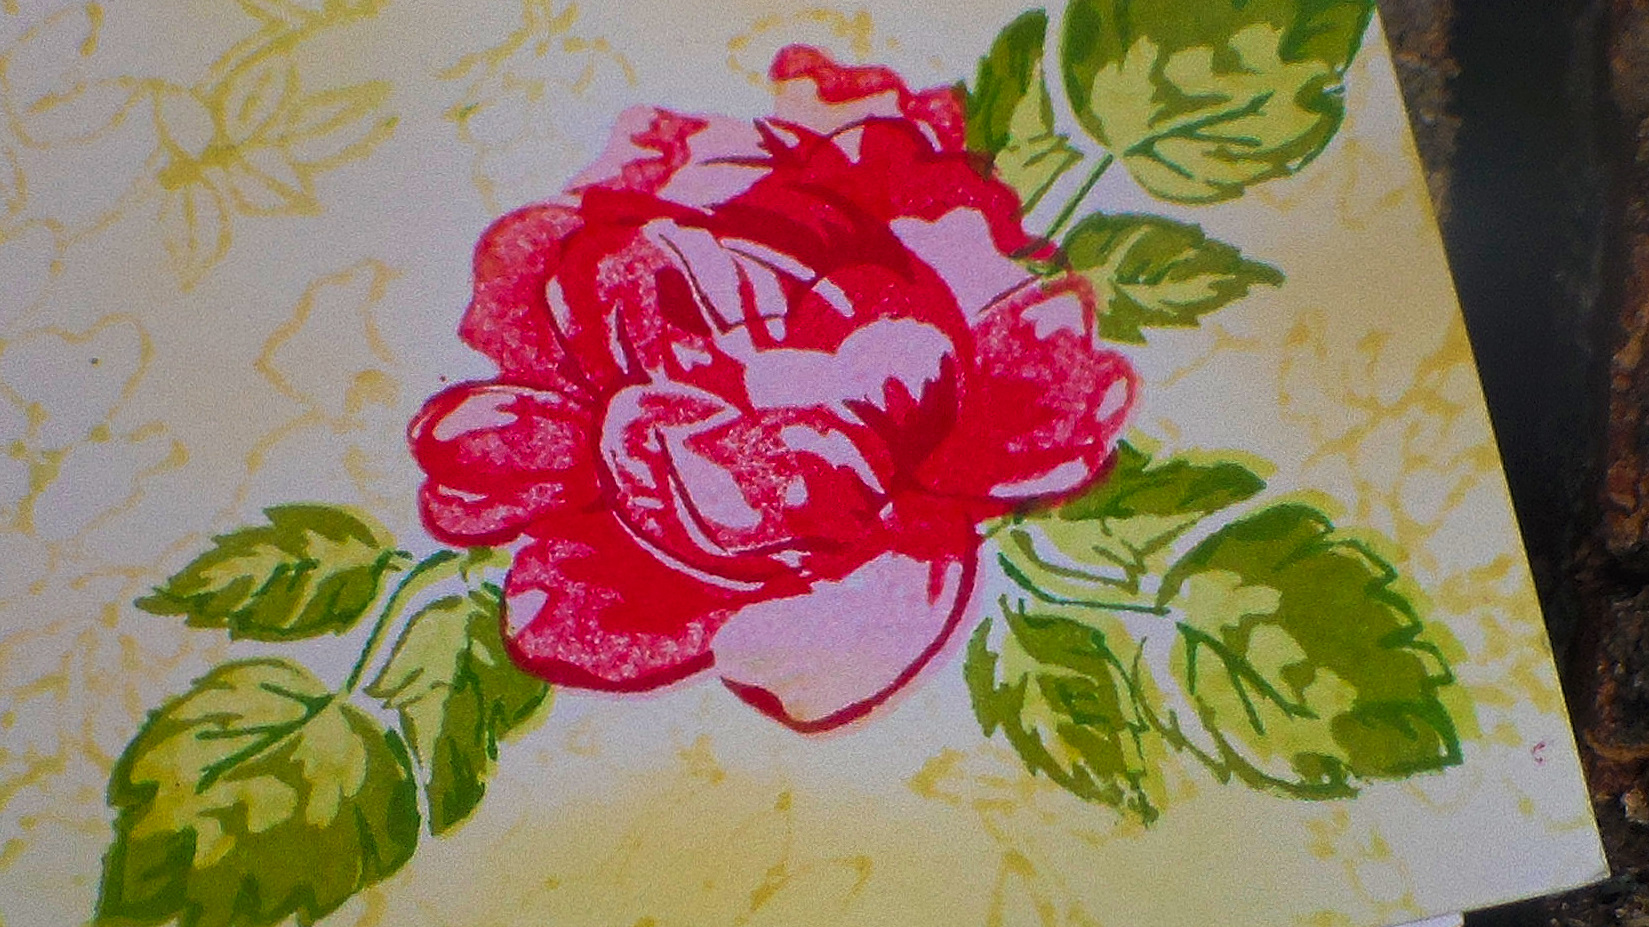
Altenew Vintage Flowers and Painted Butterflies
Funny Handmade card stamp: Judikins
Back of Card Stamps: EK Success
Spatters: Rubbernecker
Floral background: Cardmaking & Papercraft magazine freebie
Ink: Memento
Stamp positioner
Clear embossing ink
Chalk
Let me know if you have any other techniques you want to learn on Stamp School!
Sorry if my photos look off this week, I just upgraded my computer and I am trying the photo editing software that came with it. I am trying to decide if I want to keep it or try to transfer my old software over. Do these photos look weird to you? Thanks for stopping by and til next time happy crafting!

Lindsay I have a picture of a big mushroom a friend took. It was in her back yard and is very neat looking. I would like to send it to you. To me it looks like a very big dark rose.I don’t know what email address to send it to.
LikeLike
you can send it through facebook or my email on my endorsements page.
LikeLike
The photos look great; professional as always!
LikeLike
Hi Lindsay,
Okay, so I have a dumb question. It seems a little late in the stamp school game to be asking it, but I’ll ask anyway. In your first stamp school video you briefly mentioned cling stamps and unmounted/bare rubber stamps. I understand the difference. I also understand you can use adhesive on the back of the plain rubber and use it that way; or convert bare rubber stamps into cling stamps by adding your own cling cushion. However, where my confusion lies is with when is it preferable to add the cling cushion versus using adhesive. You’ve said in your videos that the cling cushion helps give “a little extra squish” and helps give a better impression. So is cling cushion always preferable? But you’ve also said, “These stamps are really deeply etched so they don’t need any cushion.” So I guess deep etched stamps don’t need cling cushion. But how can one determine if a stamp is “deeply etched?” How deep is deeply etched? You’ve also said things such as, “I’m using a curved mount to help give me a better impression,” and, “I haven’t got around to putting cushion on my stamps so I’m gonna use a curve mount to help get that image I’m looking for.” Does that mean if one is to use curved mounts, cling cushion is unnecessary? Also you’ve mentioned to stamp on some surface that will give you squish. Do you need a squishy surface even if you have cling cushion or a curved mount? Does it all boil down to personal preference? Or are there advantages to one versus the other? Does it just depend on the stamp? Thanks for any clarification. I’m sorry for my confusion.
Oh! And for the what other techniques you want to see, I’ve seen a technique that I think helps stretch supplies: mixing sentiments. You know when you have multiple sentiments, such as “birthday wishes” and “happy thanksgiving,” and you ink up just the “happy” and stamp that. Then ink up just the “birthday” and stamp that. So you get a card that reads “happy birthday” in two different fonts. I don’t know what the proper name for this technique is. I think it’s kind of cool though.
Anyway, thanks for your time. I hope you have a wonderful day♡
LikeLike
Also, I don’t think the pictures look really weird. Maybe a little dark though. But then again it could just be my screen. I hope you enjoy your upgraded computer 😀
LikeLike
they look too dark on mine too, thanks:)
LikeLike
No problem 🙂
LikeLike
It really boils down to preference. A clicg cushoin stamp will generally be easier to use than bare rubber. I like to stamp on astack of paper, magazine of fun foam. The more detailed the stamp the more you might want a cushion. Also the more detailed the stamp the more a curved block will be useful. All of the rubber companies I use are deeply etched, most of they folks have been in the stamp making game for decades and they know how to get a good image. Sometimes you get bad stamps from companies that do not make ony stamps. Deeply etched means that the lines are nice and raised so the ink will sit on the image and not on the backing. I like the mixing sentiments idea!
LikeLike
Thanks so much for the clarification :-D. I really, truly, appreciate you taking time out of your day to answer my question. Thank you so very much. ♡
LikeLike
Hi, Lindsay! I enjoy your videos and really like the images on the Rubbernecker stamps! I bought the wildflowers in the wind stamp and found that the image was too muddled unless I used a stamp positioner and masked the fop image (the large flowers) with frisket. Perhaps a tutorial to show how you can use masking liquid to make clear images is in order. Fussy-cutting paper to use for a mask is something most stampers don’t want to bother to do, but liquid mask is much easier to use. I find it works best on watercolor paper, however, as some cardstock tends to peel off when you use the frisket. Thank you for introducing us to the Ribbernecker stamp line as their images and sentiment stamps are unusual and clever.
LikeLike
beautiful ❤
LikeLike
The pics look clear and fine to me.
LikeLike
Your photos look fine to me awesome video!
LikeLike
I like when the images are not perfectly aligned.
LikeLike
You mentioned a ‘splattery’ stamp from Rubberneckers. I have searched and searched, and can’t find it. Can you help me locate it?
LikeLike
yes, I think it is called scuffs, scraps & stains, here is a link: http://www.rubbernecker.com/index.php/scuffs-scraps-and-stains.html
LikeLike