Birthday cards for my twins!

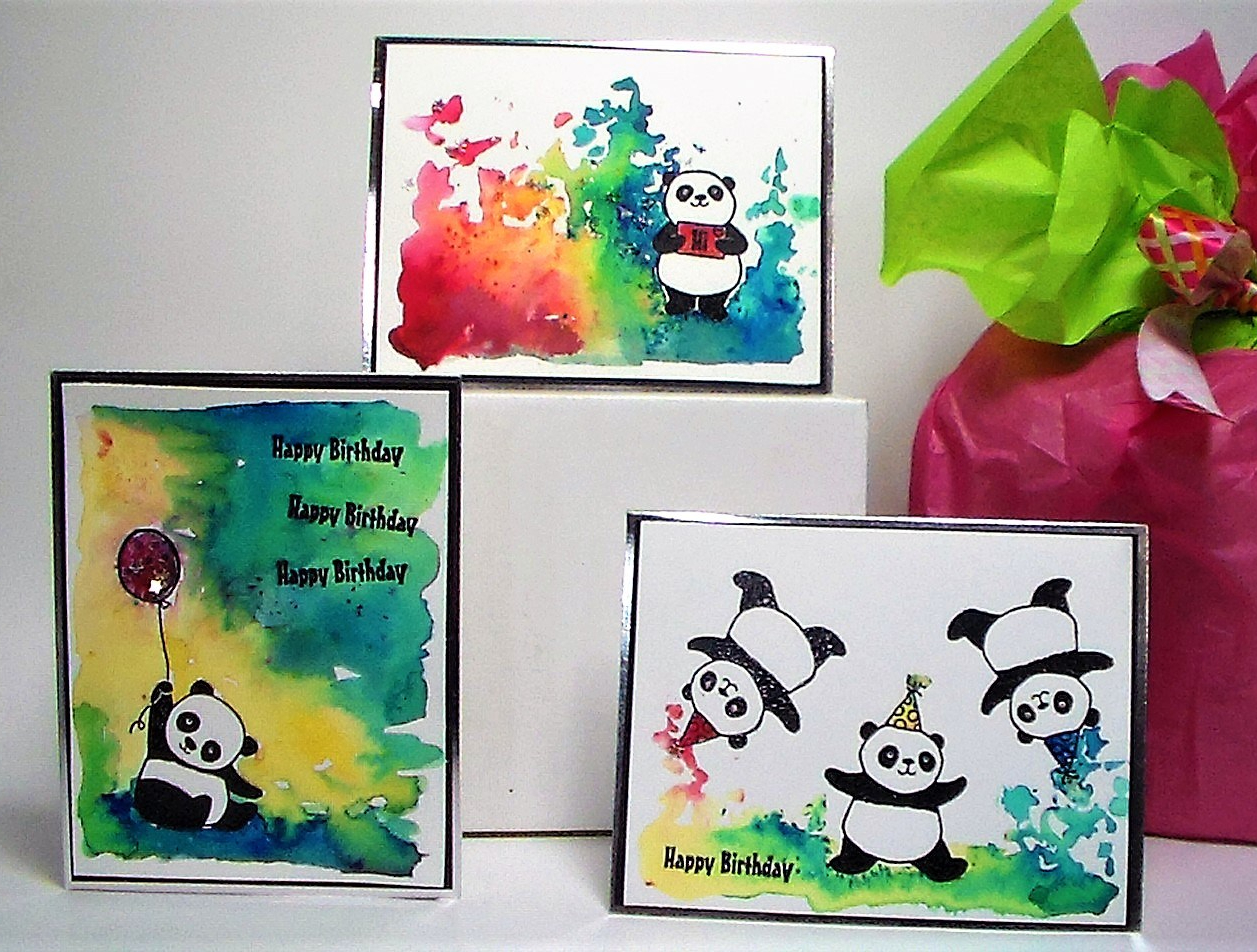
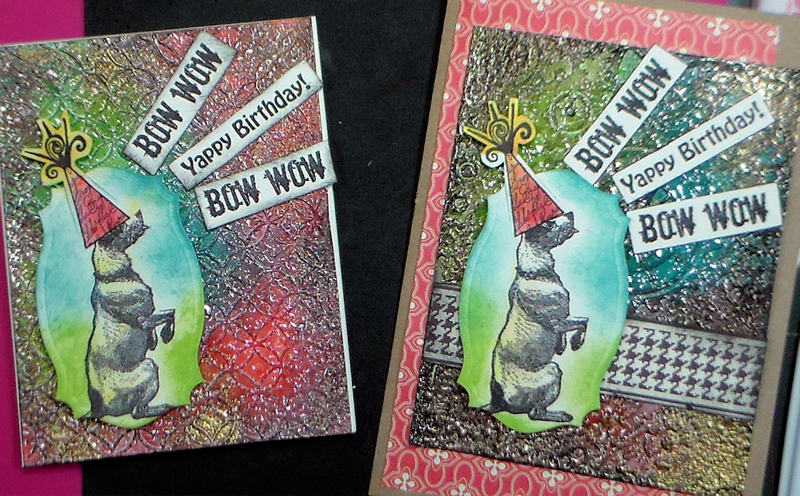
Hi friends! Today I am sharing 2 videos! I love making custom cards so today I will share the cards I made for each of my daughters for their birthday last week.

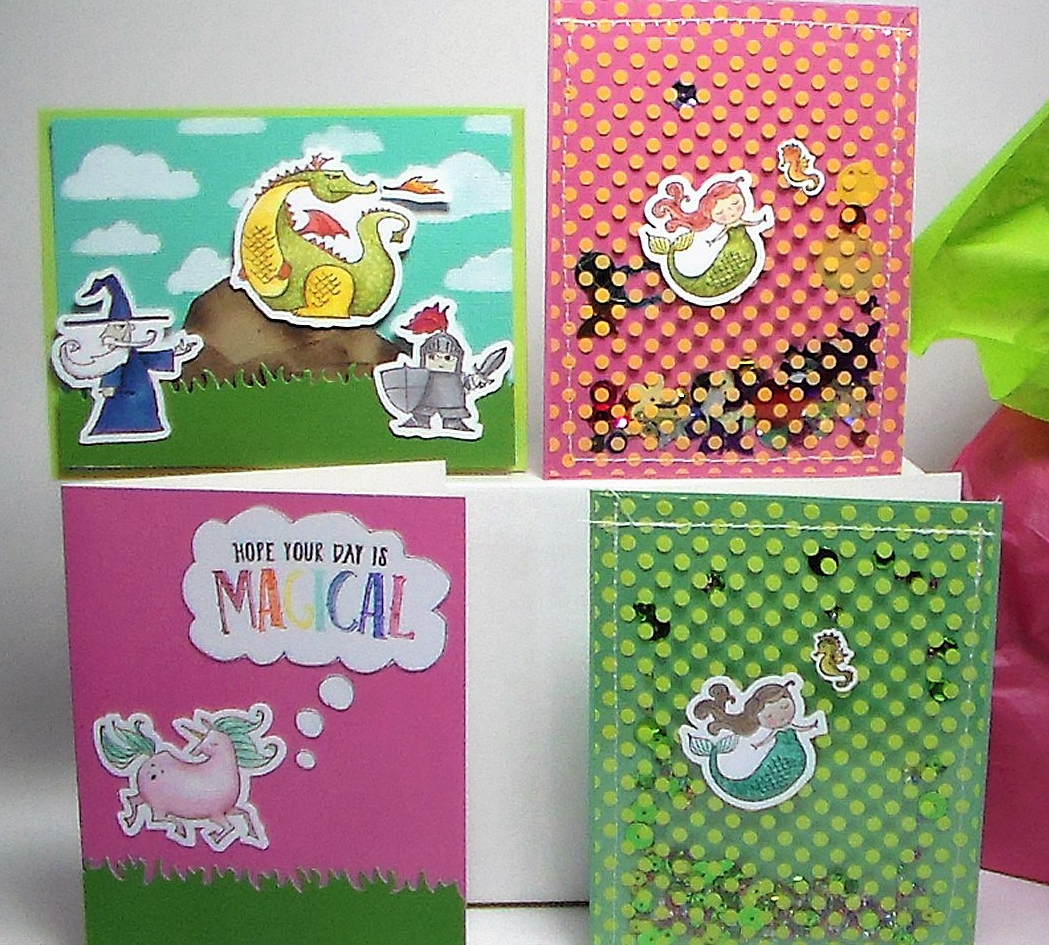
First up is Maizy’s card! I chose images that are personal to her but weren’t easy to combine. I’ll show you how to make unrelated elements go together.

Supplies for Maizy’s card: *These supplies are old favorites and most are discontinues but I tried to fine them or substitutions if available but it is unlikely you will make a card just like this as you will create a bespoke card for your loved one. Still, in case you really loved something I used I tried to find it. *Affiliate links used in this article.

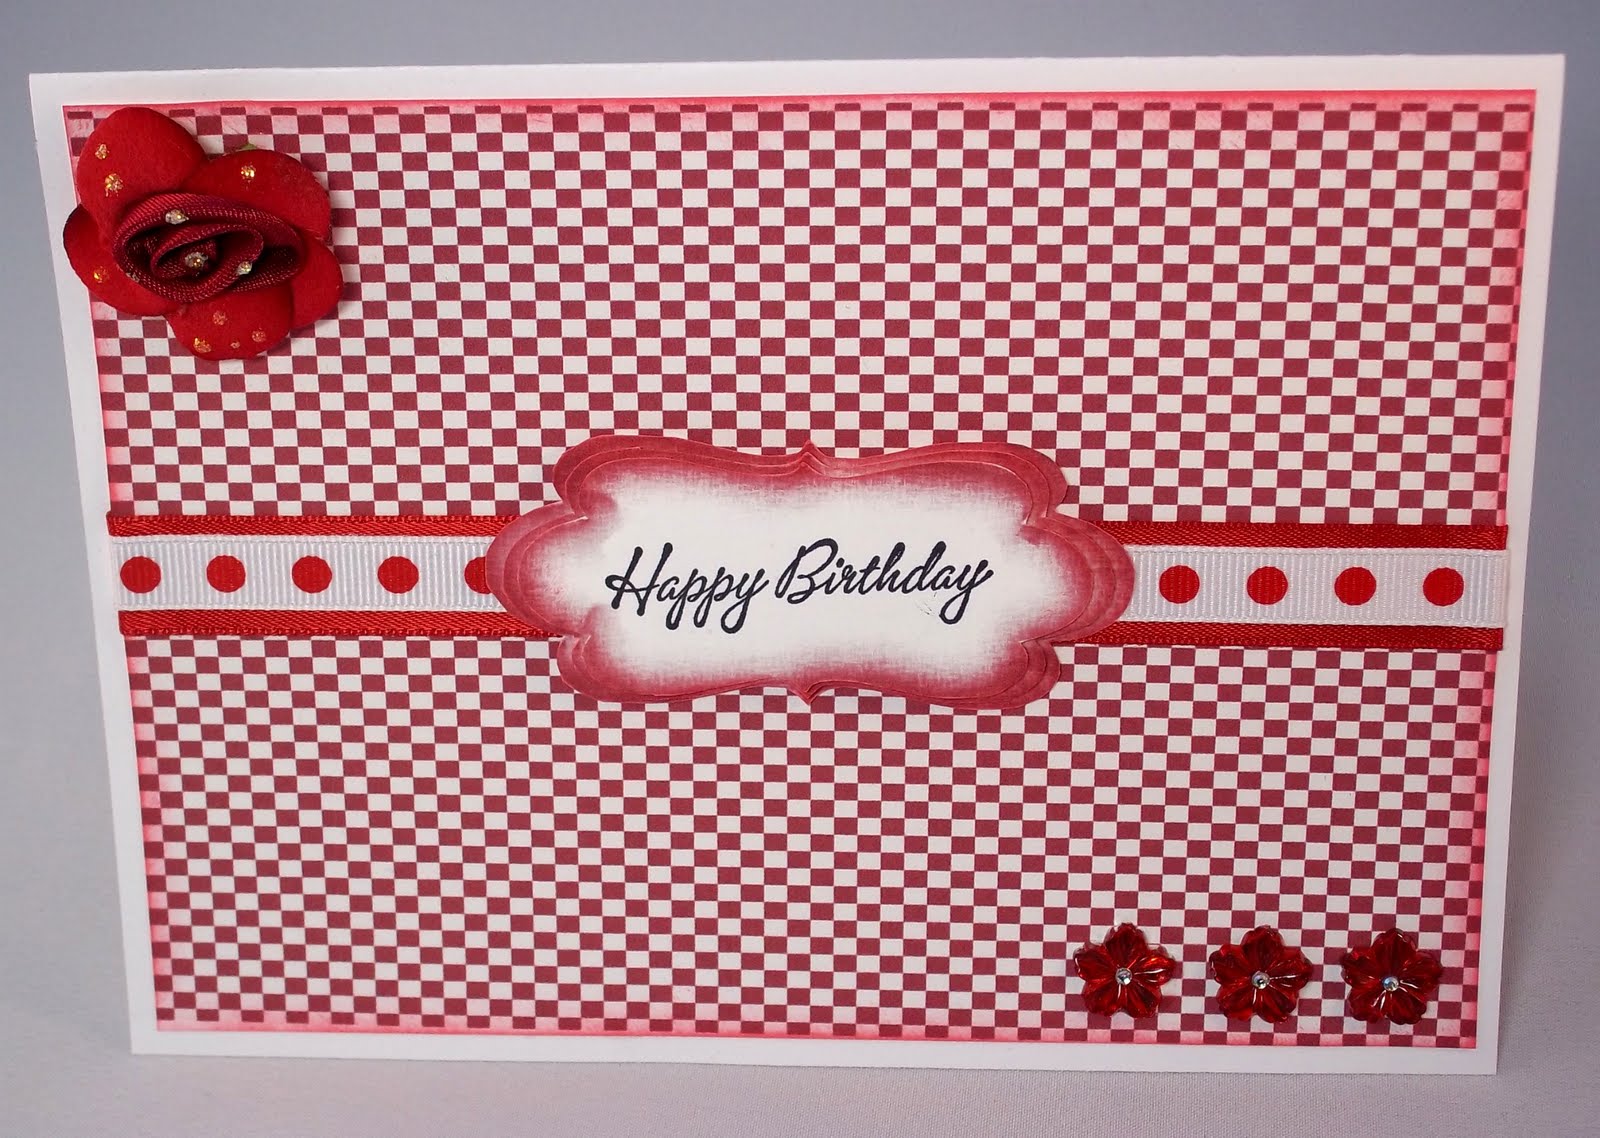
Now on to Lila’s card, I had a lot of fun with this one!

Supplies for Lila’s card:

  • Rubber stamps, you will want 3 backgrounds you can layer, a strong focal image, and some accents. I found vintage fashion, stitches, and script here if you like things similar to what I used
  • White cardstock: This is the accent opaque that is super smooth and great for ink blending and OK for alcohol marker. The heavyweight is a good card base option and well priced. I use the 80# for layering. You can choose the weight you need. Cheaper than Neenah classic crest but not as good IMO for alcohol markers but not bad. It is as good for ink blending and stamping tho.
  • The skintone marker set I’m using is from Art-n-Fly
  • Other: Inkpads, sprays, blending brushes *If I had to do it again I would only get brushes with white bristles. I like the colored handle ones too. Lots of inexpensive options here. larger size is better IMO

I think the lesson from these tutorials is to use the things that make your cards meaningful. It doesn’t matter if you have the latest stamps and embellishments, what matters is that you make it from the heart. Happy crafting!

Build a Terrarium! 6 cute cards to make today!

Hi friends!  I was browsing my local big box craft store the other day and came across a cute little die set that inspired this batch of cards!

20180822_153409 - Copy.jpg

I love it when I find something that makes me use the supplies I already have more. Find out how I made these cards in today’s video tutorial!

This video is sponsored by Rubber Stamp Tapestry  Use coupon code: LINDSAY and receive 15% off your retail order of $10 or more of peg stamps, peg stamp sets, and unmounted stamps! Coupon expires a week from this video publication. Continue to receive great deals by becoming a PegStamp VIP here. As a PegStamp VIP
you’ll get a weekly deal via email plus links to fabulous tutorials by me, Lindsay the Frugal Crafter and other designers.

Supplies

20180822_153740

Directions:
1. Make 4 1/4″ square cards from kraft.
2. Die cut small dome from watercolor paper, large dome from silver and base from gold.
3. Stamp terrarium filler on the watercolor pieces.
4. Cut doilies and glue to 4″ square pattern paper and assemble terrarium on top. Glue to card base and embellish as desired.

20180822_153928

This idea can be used for any occasion, just switch up what you stamp inside!

20180822_153810.jpg

Thanks for stopping by and til next time happy crafting!

Fun Kids Birthday Cards You Can Make in Batches!

Hi friends! If you have children you have probably had to rush out to the store to pick up a card for one of their friends last-minute birthday parties. The cards I am going to share today are so fun and easy to make in batches that you may never need to go to the card store at the last-minute again!

28698792_10211269306273870_4157887383067357322_o.jpg

In all honesty I think these would be pretty nifty for adults too, I mean, look at those pandas!

SAM_5588

The great thing about making cards in batches is that you can explore several ideas with one set f supplies. It is a great way to make the most out of limited supplies or get to really know a new product.

sam_5590.jpg

I stamped all of the images from this set out and then colored them with the new Stampin Blends markers. I was a bit worried that I wouldn’t be able to cut them out with my Scan n Cut2 because I stamped them fairly close together but it worked like a charm! I used a .08″ border to get a white outline.

sam_5585.jpg

In today’s video I will show you how I made these cards. Enjoy!

I’m using supplies from Stampin Up including some free Sale-A-Bration products. With Sale-a-bration you earn a free product with ever $50 you spend making it a nice time to stock up! You can order from your local demonstrator or my friend Wendy Cranford. *If ordering less than $150 be sure to use the host code on her website, orders over $50 get extra goodies!

*Orders placed before March 31 qualify for Sale-a-bration freebies!

Supplies!

Other supplies:
Black pigment ink (Versafine)
Black embossing powder
Smooth watercolor paper
Pre Folded card bases
Sequins
Sewing machine and thread
*Also I used my Scan n Cut 2 Machine to cut out the stamped images:

One more tip to make these cards more useful: Put a pocket inside to hold a gift card! I have a hard time choosing gifts for kids I don’t really know and kids I do know are tricky as they get older. This way they will surely get something they like. 😀 Thanks for stopping by and til next time happy crafting!

Stamp School: Easy Layered Mixed Media Card!

Hi friends! I know a lot of people are intimidated by using “messy” supplies on cards but I hope to help you get over your fear with today’s simple card:

john2

All you need is cardstock, a stencil, foam and rubber stamps and acrylic paint. You can use either a cosmetic sponge or foam brush to apply the paint and yes they can be washed and reused. Watch my tutorial to see how easy it is!

Video!

The stamps and stencil came in a kit from Stampendous, they have 3 of them, one with an indian/elephant theme, one nature bird theme and this urban theme. I have all 3 and they make mixed media layering a breeze. When I first posted the video they had the sets at Simon Says Stamp and Blitsy but now both places are sold out:( I bet if you ask your favorite stamp store they will order it for you (these are brand new so they should:) plus that helps you local stamp store if you are lucky enough to have one, win-win!  If you are not sure if you like this sort of thing I recommend trying one and see if you care for it before stocking up on all 3. I hope they make more kits like this!

john5

Don’t forget to add some light-colored paper to the inside of the card if you are working on dark cardstock to make an area for writing. I use pattern paper scraps for this, hey, the back side is white, why waste it? A little bit of washi tape can also snazzy up the inside without making it to fru-fru!

john4

If you would like more in-depth lessons on Mixed Media please check out my new class at Craftsy, I am giving a 50% discount to all of my readers, just click the 50% off link here. I break down the process of creating interesting mixed media paintings into manageable step by step layers. I am really proud of this class and I think it can really help beginners learn the “Why” as well as the “How” of some of the popular mixed media materials and techniques out there all while keeping your budget in mind by getting the most use out of versatile supplies. I don’t like to buy a product that has only one use that ends up sitting on the shelf collecting dust and I don’t think you do either! You can take the class at your own pace and you have lifetime access to the class so there is no rush BUT if you want the 50% off savings enroll in Mixed It Up Mixed Media Step By Step soon! I can’t wait to see your artwork in the classroom! Thanks for stopping by and til next time happy crafting!

10621_728x90-69f3487a-a83b-4bcf-8da9-19bb6fe4b711


Hey! That’s not pink and frilly! {How to make a cards for a man!}

Hello friends! I get asked often about making cards for guys. I naturally tend to create with feminine colors and organic lines and textures but sometimes you need to make a card outside of your normal style (usually when a male relative has a birthday.) I think we don’t often make cards for our men because (and this is going to sound really sexist so I apologize in advance) because we don’t think they will appreciate them while our girlfriends will gush over the glitter, hand stitching and our awesome copic coloring skills…OK I imagine my girlfriends opening my cards and fainting with pleasure over the joy of receiving one of my handmade creations, but I might be delusional. Anyway, today I’m going to show you how to make this card. Dog and Party Hat stamps from Lost Coast Designs.

lcd_bowwow_blog

How to make a card for a man:

  1. Colors, stick with blue, green, red, brown and black, if you are feeling sassy you can add orange to the mix!
  2. Texture, look for diamond plate or gear/cog embossing folders, if you don’t have any you can run the card over a few times with your car.
  3. Any Tim Holtz embellishment is appropriate for a man card. I know it can be hard to part with a precious TH embellie but you can probably steal back the embellishment later after he forgets about the card.
  4. Add a clearly defined sentiment in case he does not realize what the card is for.
  5. OK, I am totally joking with you, men appreciate the cards just as much as the ladies, they are just unlikely to gush over them:) Tip for men, if there are any still reading, if a lady gives you a handmade card gush already! OK before I dig myself into more of a hole you can see how I made this card in today’s video:

All joking aside making cards for guys is as simple as shifting your color palette and going with texture over embellishments:) And I didn’t mean to be harsh on the guys, I have just heard from so many of my stamping girlfriends say that their guys did not SEEM to really appreciate their handmade cards. But I don’t really appreciate the finesse of a football player kicking a touchdown thingie and that is OK as long as we appreciate that it makes the other person happy and we support it. That’s my opinion:) Thanks for stopping by and til next time happy crafting!

40% off last day and DT wrap up!

Wow, where did the week go!?! Where did the month go in fact! I had pland to make May Baskets with my new Basket Bonanza kit this week (who knows, maybe I will today), repaint my kitchen and clean my studio but none of those things happened. There is still time to save 40% on everything at Lindsay’s stamp Stuff, the sale is on until midnight tonight!

Now let’s see what the DT has been up to {apparently more than me LOL!} this week!

First up is Margie with this super fun bowling layout-she is my scrapbook idol, you need to check out her “counterfeit kits” she will have you using up your stash in no time making the cutest pages ever! She used the Bowling Fun Papers and bowling fun SVGs/clip art kit here:

Here is Cindi’s sweet and happy birthday card, i love the mix of Up, Up & Away clip art and papers and the cupcake from the sweet stuff set (that was one of my first digistamps for sale, appropriate since April is my 2 year anniversary of opening the shop!)

Micki is my marker idol, man that girl’s got skills! and get a load of the sumptuous ribbon on her card, oh my! She used the Birds and Branches stamp set on her card today:

Here is one classy card from Karin, it is a birthday card but wouldn’t it be pretty for Mother’s day too? She used Bold Black and White papers and All Around Phrases digistamps:

Jennifer is such a cheerful happy person and she comes up with the best sentiments on her cards, she used the Sew Much Fun stamp set on this one:

Rhonda has another card that would be perfect for mothers day. She also used the Posh ‘n Trendy and the Bold Black and White papers . Tres chic!

Last but not lease is Diane with 5 (yes! I said 5!) cards using the Bold Black and White papers kit. She simple recolored the prints and made 5 clean and simple card, that would make a nice gift set don’tcha think?

 If you see something you like be sure to grab it today at Lindasy’s stamp Stuff while it is 40% off (or you can wait til my 3rd anniversary sale next year LOL!) There is even a brand new party kit I just added last night in the shop! Here is a look at some of the kits the DT gals used today:

Beach Party Printables3-D High-Heel SVGSew Much Fun StampsPosh'n Trendy StampsUp, Up & Away PapersUp, Up & AwayBold Black & White PapersBowling fun PapersBowling FunBirds & Branches StampsSweet Stuff Digital Stamp SetAll Around Phrases Digital Stamp Set

Thanks for stopping by and til next time happy crafting!

Make Your Own: Baker’s Twine!

Hello folks! I spent a good part of the afternoon making beautiful bakers twine with plain cotton thread (#10 crochet cotton) and my ProMarkers. Check it out, it looks like the real deal, no?

I found a great video tutorial from UKmaryanne on you tube and she showed how to turn ordinary crochet cotton string (you can get a big honkin’ ball of it for about $3 at the craft store) into lovely striped twine, now why didn’t I think, of that!?!  Here is her video:

I decided that I needed to use my new twine straight away so I made up a few “kid’s cards” using some of my new PinkPersimmon stamps:

I just LOVE this twine!

Check out the orange flag and button, I heated up fun-foam and stamped it to make 3-D squishy embellishments.

Here is a closer look at the button:

Well, that was my fun for the day. Thanks to UKmaryanne for sharing her totally awesome baker’s twine idea, I do hop you’ll try it, it is such fun and s quick to make and it looks just like the real thing for a fraction of the cost!

Today’s projects qualify for the following challenges: A Spoonful Of Sugar, Ladybug Crafts Ink TLT Challenge , Top Tip Tuesday, Bunny Zoe’s Crafts (bright cards for boys), Incy Wincy Designs, KB Cute Monday, Stamp with Fun , Aly’s Sunday Challenge, Card Cupids (pastels-pink and green cards), Pile It On , Fussy and Fancy, Paper Cutz, Art Impressions Stamps Challenge  and Aud Sentiments Challenge

Thanks for stopping by and til next time happy crafting!

Happy Birthday 2 ME! Great deals 4-u! A freebie too!

Howdy folks! Saturday I turn 34, instead of sulking I decided to celebrate with a sale:

I have some new stuff in the shop and a new freebie for you today but first here is a Birthday card I made with the new Sweet Treats 2 digital stamp set from Lindsay’s stamp stuff:

Digital Stamps: Lindsay's stamp Stuff, Paper: Lily Bimble (mygrafico.com), cupcake circle: Babystar (mygrafico.com), tool: Scor-buddy

I used the sketch from 2sketches for you and the color combo from Color throwdown and the challenge to decorate the inside of the card from Alota Rubber Stamps:

Decorating the inside of the card is as fun as the out!

I used a lot of brads on this card at the end and covering the inside of the card with pattern paper made it look neat and tidy:

Be sure to leave a plain spot for a hand written message and don't forget the matching envelope!

Want more Birthday cards? I challenged the DT to make Birthday cards this week but first lets take a look at some new sets in the shop (the freebie is coming up!)

14 layerable digital stamps!

17 hot vintage steampunk stamps, super trendy and cool!

And now for your freebie, a vintage journaling block:

Click the pic to download, enjoy!

Now let’s see the fab Birthday creations the DT has for us today:

Cheryl Gorka DT Coordinator

Shannon Neparko

Margie Visnick

Lisa Jurecek

Melissa Craig

Leanne Garner

Tamara Bennett

Cindi Hooks

Micki Harper

Rebekah Doak

Karin Martin

Jennifer Bliss

Rhonda Walker

Diane Bove

Tracy Vinson

Don’t forget to visit the Lindsay’s Stamp Stuff shop (myGrafico only) to save 34% on everything through Saturday! Thanks for stopping by and til next time happy crafting!

8 Birthday Cards and a Freebie!

Isn’t it funny when you need to get something done for a deadline you struggle but when you have a free day you can knock out 6 cards in an hour? That is how it is for me anyway 🙂 I never seem to have enough birthday cards so I decided to make a set of 8 using my new Recipe card and Folio SVG cutting file with my All Around Phrases, Sweet Stuff and Love Grows here digital stamp sets:

Stamps, Template: Lindsay's Stamp Stuff

All of my stamp sets work well with each other, I think the most versatile is the All Around Phrases digital stamp set because you can pop any other digi stamp (use the png version) in the center and you have an easy to trim element, plus anything in a circle is just cuter 🙂 This card features this weeks sketch from 2s4u, when you need a quick card nothing is easier than using a sketch:

Stamp: Lindsay's stamp Stuff, Paper: K&co, Sketch: 2sketches4you

Here are more of the cards in the set:

Stamps: Lindsay's stamp Stuff, Paper: K&Co

Stamps/Bingo card: Lindsay's Stamp Stuff, Paper: K&co

How about a freebie? I am trying to better organize my scrap space so I have another ribbon organizer for you. Last weekend I gave you the ribbon bobbins, here is a ribbon/fiber card to cut with your Cricut and Sure Cuts a Lot (SCAL) software. If you have a cricut you should have SCAL, it has been around for almost 2 years and has great customer support AND I have a coupon code to save 10% on SCAL: 9388463 it is good til the 18th. If you have SCAL 2 and havent updated recently the new update (SCAL 2.006) is great, you can break apart a design to arrange it on you mat, auto fill, and convert simple clip art into cutting files FUN! The update is free if you have scal 2:)

Here are the fiber cards loaded up with ribbons and fibers, pretty!

Download the Ribbon/Fiber Card SVG here. This make any size card you want!

Download a version that will cut with Design Studio if you have the George Cartridge here. This makes the larger card.

Here is a look at how I cut the cards in SCAL. SCAL lets me re-size the cards however I like for large or small ribbons. I think if I cut more big ones I'll use chipboard for strength.

Now lets see what the Lindsay’s Stamp Stuff Senior DT has been up to this week, the have a new Guest Designer this month too, take a look:

Cindy Coutts *January Guest DT

Janet Rossi

Shannon Neparko

Margie Visnick

Lisa Jurecek

Erin Bailey

Tracey Allen

Diana Stout

Melissa Craig

Leanne Garner

Cindi Hooks

Micki Harper

Jennifer Bliss *visiting us from the Monday crew!

Reserve a day for creative play in your craft space, who knows you might end up making 8 cards in an hour! All of the stamps and templates used in today’s project can be found in the Lindsay’s Stamp Stuff shop, Remember for ever $5 you spend there you get a free single stamp OR at my shop at MyGrafico where you get your stamps INSTANTLY (but no free stamp, sorry.) Another reminder today is the last day to enter the recycling challenge, make a card using ANY digistamp and something recycled, leave me a link to it and I will toss you name in a hat for a chance to win a free set!

Thanks for stopping by and til next time happy crafting!

Now I'll have a birthday card ready whenever I need one!