Happy Father’s Day! {A cute card I copied!}

Hi friends! I was looking for a cute card for father’s day for my husband and I happened upon this cute valentines card by Stephanie Chumbley and I thought it would be perfect for a father’s day card. Here is the one I made:

19221435_10209425787987065_3686578480791640688_o.jpg

I used basic cardstock I had on hand to make this card. You can see the Stephanie’s card and read how she made hers on the Cards by Stephanie blog. I use this free lawnmower SVG file to cut the mower with my electronic die cutter (Using SCAL2 I broke apart the shapes and cut them from red, black and white) and I used a grass die cut I had on hand to cut the grass from green cardstock. For the clouds I punched a scalloped oval from a scrap of cardstock and used a color duster to ink over it starting at the top and working down, a sponge would work as well. 🙂

I am a very practical gift giver and I remembered hearing my hubby complain about how messy and annoying the new “safety” gas cans are so when I saw a review of the SureCan (no, I am not sponsored by them LOL!) on This Old House (or possibly some other home improvement show on TV) I thought he might like it. Of course, it is kinda like getting my husband a chore for Fathers day so if I end up with a vacuum cleaner for my birthday we will know why LOL…I wouldn’t mind a steam mop though truth be told! Have a wonderful day and happy crafting!

A Freebie for Easter! {let’s make cards!}

Hi friends! I love looking through stacks of vintage postcards at antique shops. People used to send cards all the time, especially on holidays such as Easter. Today I have a free template (printable PDF and SVG cutting files) for you to create four cute cards that won’t cost a lot to make or send!

blogeaster

We will also be using washi tape and baker’s twine, two of my favorite supplies, from our sponsor Papermart. Watch the video to see how it’s done:

Supplies:

  • White Cardstock
  • Baker’s Twine
  • Washi Tape
  • Stamps and Ink
  • Sponges or color dusters
  • Embossing folder (I used a Damask pattern from Darice)
  • Foam Tape
  • Scissors
  • Free Template
  • Also a craft knife or die cutter for cutting the templates.

Directions:

  1.  Die cut the SVG template on a full sheet of white cardstock OR print the PDF template. If hand cutting I recommend using a craft knife to cut out the windows on the cards and then cutting the scalloped frame with scissors. You will have 4 scalloped papers with windows.
  2. Emboss the papers with an embossing folder if desired. You can also stamp a sentiment on the paper if you want to keep it flat (unembossed.)
  3. Center the window on a card base and trace the window with a light-colored pencil.
  4. Apply washi tape over the traced image.
  5. Apply foam tape to the back of the window.
  6. Wrap the panel with baker’s twine and adhere to card base.
  7. Stamp an Easter sentiment on a label die cut (not included) and adhere over twine with foam tape.

SAM_2482

Thanks so much for stopping by and til next time happy crafting!


For Dad’s and DIYers!

I practically grew up in a pile of sawdust. I had my own nail apron and hammer and I would pound endlessly on scraps of wood my dad left around in the shop. I was a proficient step-stool maker by the age of 4! My dad was a contractor and then later he opened a hardware store/lumber yard which he still works at, open to close, every day except Christmas and Thanksgiving. (Talk about hard to buy for!) Today’s card is for all the DIY dads out there and with Father’s day coming up you might want to make one! It came together in minutes using my new Tool Apron SVG and Printable Pocket card kit.

DCF 1.0

It is great to give as is or tuck a gift card into.  It also would make a great scrapbook page element as you can use the pockets in the apron to hold extra photos or journaling and the tools are fun scrapbook page elements.   Have a great weekend and til next time happy crafting!

Another Quick & Easy Classroom Valentine!

Your child can craft up this batch of Valentine ‘staches in about an hour, all you need is a bag of lollipops, 2 sheets of black cardstock, a pen that will show up on dark paper and a 1/8″ hole punch. To make it super simple I cut the mustaches with my electronic die cutter using the SVG files in my Photo Props Template set. I could get 9 mustaches from one sheet of 8.5″x11″ cardstock. There is a printable sheet of all of the mustaches in this kit as well so you can print it on regular paper, tape it to black cardstock and hand cut them as well.  Easy Peasy!

DCF 1.0

My daughter wrote to and from on the back of the mustache cutouts then she used an 1/8″ hole punch to punch a hole in the middle and pushed the lollipop stick through. It held the pops in place really well but just to make sure that no “stache” and pop were separated I place a drop of hot glue on the stick.

DCF 1.0

Here is a look at the Photo Prop Template set I used, it is very versatile and only $3!

Photo Booth Props!

Thanks for stopping by and til next time happy crafting!

DCF 1.0

Let’s Go To The Hop! {& 50% OFF at MyGrafico!)

Howdy folks! Just a quick note that everything at Lindsay’s Stamp Stuff and MyGrafico is 50% off until midnight tonight! Here is a new kit I added this week perfect for any 50s themed retro party or sock hop:

You get a card, favor bag as well as the show clip art for other projects. It’s fun and easy to make! You can cut the templates by hand using the printable version or cut the SVG files with your electronic die cutter! Here are some other kits you might enjoy:

Crafty Creature SVGLearn To Paint Chinese LanternsPhoto Booth Props!Midnight Dinner PartyTom Turkey CraftGhosted! SVGHalloween Doodles StampsClassic Fall Clips & CuttingSoccer Party KitHalloween Favors SVG

Don’t wait, the sale is over at midnight! Happy crafting!

Feeling Guilty?

Our local library decided to banish overdue book fines, I for one am glad having found the occasional 6 month overdue book under a bed and then doing the mental calculation wondering if it would be cheaper to pay the fine or buy them a new book LOL! So when the librarian asked me if I could make a “guilt jar” I jumped at the chance. You see, this way guilty parties (ahem…like me) could drop in a few bucks to cover our indiscretions and the library still gets the funds it needs for postage. I used a funny disuse guy face from the Slap Happy kit from Letting delights and if you like it I have a 50% off coupon on any purchase over $5: IamBack and I hear they have some new freebies there too!


I wrote a little poem to go on the jar because I was afraid nobody would be familiar with the “Guilt Jar” concept. You have my permission to copy it 🙂 If you post a project with it on your blog a link back would be awesome!


The pencil background stamp is one I had coveted for years and I snagged it from Lost Coast Designs at the Heirloom Stamp Show in June. It comes in two sizes and This is the large one. I used my Mega Mount to stamp it on fadeless art paper, a curved stamp block will give you a better impression with detailed photo stamps like this. If you don’t have a curved stamp mount try a warped die cutting plate!

That’s all for today, the house has been neglected long enough, it is time for some extreme cleaning…yes I am having people over this weekend…how did you guess? 😀 Til next time happy crafting!

40% Off Today Only & a Creature Craft!

Howdy folks! Just wanted to kick things off by letting you know that you can save 40% on everything at Lindsay’ Stamp Stuff today (Thursday) until midnight! I am hosting my monthly craft class at the library tonight and we are making mix & match monster bookmarks. I designed an 8.5″x11″ SVG file with a bunch of creature bodies and heads on it and cut it out of several colors of cardstock. I arranged the SVG die cuts so I could get a variety of monsters with little paper waste. Then I mixed and matched the heads and bodies and glued them together! I ran some pieces through an embossing folder and rubbed them with ink, drew on faces and added yarn hair and googly eyes. I think the kids will enjoy the creative possibilities in this kit-not all shapes are shown here! You can check out my Crafty Creature Kit here.

I had a fabulous time and this craft is easy enough to do with a classroom full of kids (or in my case a library full!) The kit is on sale for $1.20 today and, yes, there is a printable sheet included in the kit for you to use if you don’t have a die cutter. Don’t wait, the sale is today only at Lindsay’s Stamp Stuff at MyGrafico! Thanks for stopping by and til next time happy crafting!

Sizzix Eclips Does it Right!

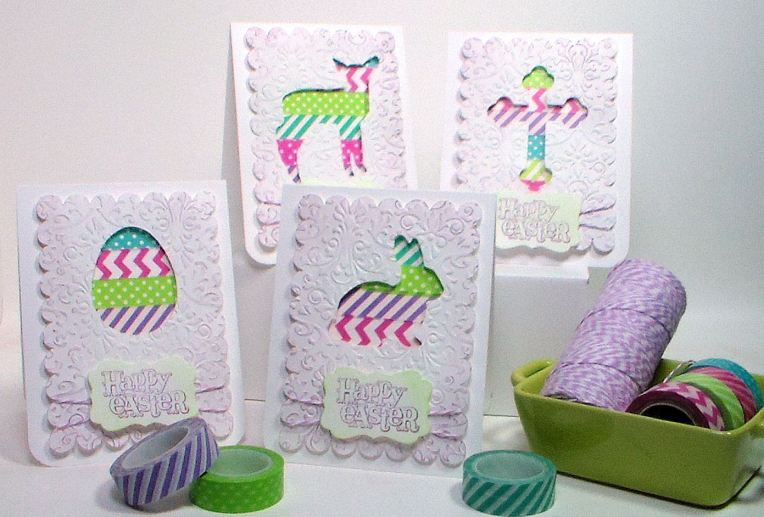
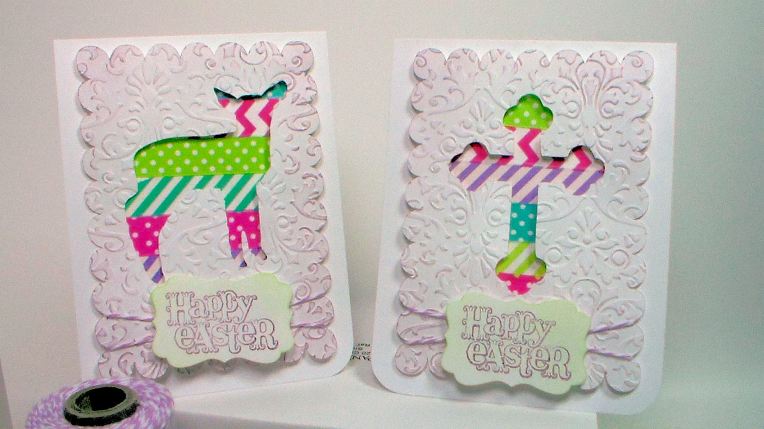
I get asked all the time by crafters “Which electronic die cutter should I buy?”  And currently my advice has been to go with a Silhouette or an Eclips. When my school Parent teacher Group asked me to research and choose a die cutter for the school (and train the teachers with said machine) I chose the Sizzix Eclips . I already own a Sizzix Big Shot manual die cutter and a slew of their dies and embossing folders and I have yet to be dissapointed by any of their products.  I am so glad the school went with an Eclips!  Here’s why. The Eclips will work with Sure Cuts a Lot software. In fact I had it out of the box and cutting with ECAL in minutes, I expected some trial and error but the design I cut with colored typing paper scraps was so pretty that I turned it into a project! The owl is from the Owl Party Doodlebat set from Lettering Delights, the plaque shape is in included in ECAL software. The letters, book and pencil were on the cartridge that came with the machine, how cute and useful!

So the fact that Eclips worked with ECAL was the most important factor, I can help teachers over the phone if I know what software they are using and I already know it is easy because I’ve been using SCAL2 with my Cricut for years.  I actually told the PTG that whatever you do DO NOT buy a Cricut because it no longer works with SCAL.

The other bonus to the Eclipse is that the hand-held controller and cartridges are very easy to use too.  Also I like that the Regular retail for MOST of their cartridges are $40 and they are on sale all the time online for about $25. I know some people are going to just want to use the cartridge and not mess with the computer so I wanted that option and the school can buy a full cartridge full of images for less than the cost on one commercial die for their manual machine. Thanks for not jacking up your cartridge prices Sizzix!!!  🙂

The other selling point for the machine was the price of mats and blades. I have been using the Eclips mats in my Cricut machine for a while, they are fabulous and cheaper than the Cricut brand.   We bought a 2-pack of eclips blades for $5 vs one silhouette blade that is $15. I wanted the machine to be affordable for the teachers in the long run. Cheaper blades and mats, cheaper cartridges if you want them or you can just cut free font and SVG files using ECAL software, choosing the Eclips was a no-brainer…did I mention it cuts really well too!

Don’t get me wrong! I think the Silhouette would be a good machine too, I think that because the blade is so pricey it probably would cut really fine, intricate patterns (it better for $15!) but a school teacher is more likely to need 100 identical shapes for a classroom project (The Auto Fill feature on the Eclips is da bomb!) or bulletin board rather than one really pretty doily. Even as a crafter who likes to cut little pretty things I’d go with the eclipse because I’ve been playing with it and it surpassed my expectations. Also crafters, if you like Tim Holtz they have cartridges of his designs so you can stamp it then cut it. Wow. I will warn you the TH carts are more expensive.

The machine has an alignment lazar so you can print and cut in SCAL, I have not tried that yet (I don’t know if I should, I am falling in love with this machine a little too much as it is!) but I plan to before I have to take it to the elementary school..sniff…sniff 😦

I think that Sizzix did it right! They thought of everything. Easy to cut. Buy inexpensive cartridges OR cut your fonts and SVG designs, easy to use right out of the box OR you can get fancy with advanced techniques (there is a great long instruction DVD showcasing all the bells and whistles!) and the machine is less expensive that a lot of the machines on the market! We found the best price ($300) on the Eclips at Oh My Crafts online, they often have their blades and mats on sale too! Right now the blades are $5 for a 2 pack and the mats are $8 for a 2 pack of 12″x12″ or 1 12″x24″. Note: I am not affiliated with Oh My Crafts, but I have shopped with them from time to time and they usually have the best price and good customer service.

Sizzix, you done good!

New paper flower SVGs

Hi there, I hope you are havng a great weekend! Here is the latest kit from Lindsay’s Stamp Stuff at MyGrafico. It’s my brand new Paper Flowers SVG kit:

I designed this kit after seeing all of the crazy flower dies at the stamp convention I went to. Now, I don’t care how anyone spends their money but one flower die was going for $25 and they were the thin dies that only cut paper and you are stuck with one size. I realized that having an SVG file you can cut with your electronic cutter would be a better deal because not only do you get 5 different flower designs and a file of assorted leaves but you can cut them bigger or smaller, fatter or thinner and skew and stretch them for endless variety! All that for a couple of bucks and you don’t have to waste paper figuring out the right sandwich 🙂

I wanted to mention the special instructions that come with the kit. They are on the printable templates. I recommend you read the directions before assembling them. I also recommend you use a slotted quilling tool for any of the flowers that have a coiled strip center like the daisy and the primrose:

The lily, plumeria and primrose can also be rolled but they are easier to assemble if you cut the petals apart. I like that they are attached at the base for two reasons: 1 because if you want to ink them you can quickly swipe an sponge up the petal from the strip where it is attached and 2 because you can keep all the parts of the flower together if you like to cut a bunch of flowers at once but use them at a later time. If you get confused just look at the printable directions. The directions are always a last resort for me too so don’t feel bad 😀

If you like making paper flowers you can find the Paper Flowers SVG kit here.

Thanks for stopping by and til next time happy crafting!