Hi friends! I want to thank all of you who asked for and encouraged me to make a colored pencil class. It’s been a long time in the making. I wanted to be sure I could provide you with all the basic skills you would need to paint proficiently with colored pencils. I wanted to make it challenging but not intimidating and to distill everything you needed to know into concise lessons and inspire you to create paintings that you were proud of. I wanted to share my love of mixing colored pencils with watercolor, markers, pastels, and gouache so you could take your painting to the next level and maximize all of your supplies. I am glad I took my time with this and I think it might be the class I am the most proud of.
As always I like to launch my class with the lowest price it will ever be to my tried and true peeps and this is no exception. You can click any link in this blog post to get the 50% off deal!

My goal with the Creative Colored Pencil Course was to make it worth the time and money for any student who wanted to learn colored pencils as a stand-alone medium. I also wanted to go in-depth and educate people about the types of papers and pencils and what they were best for. Where I think this course really shines is the mixed media component because it multiplies the use of your supplies for even more variety and it saves time.
This is a use-what-you-have class. It was important to me that my instruction would be inclusive of the pencils you already own so you could get more use from your supplies. I do provide a list of suggested materials for anyone new to the media. This approach will make it so you can easily adapt your supplies to what you want to draw in the future. I want you to build the artist instinct and not have to use this exact color of that specific brand, We all like different things, let’s embrace it and use our stuff!

I draw with you at the start of each lesson. I draw loose and refine as I go which is a bit of an unusual technique for colored pencils but it is the technique I love. I understand that not everyone enjoys drawing so I have provided traceable patterns for each project. I think once you see how simple I make drawing you will feel empowered to draw with me though!

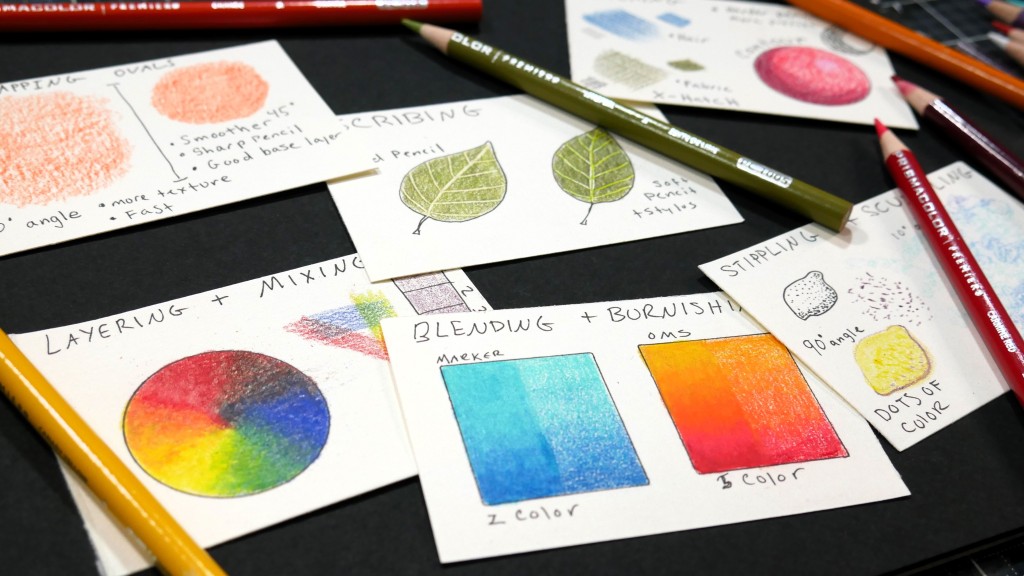
The Creative Colored Pencil course is packed with product info, techniques, and inspiration with 10 full painting projects! If you want to know my method for drawing and painting with colored pencils and how I incorporate mixed media I hope you will check it out. Click here to learn more or enroll today! Don’t miss the 50% off launch special happening now! The regular price of this course is $79, with the discount $39.50 before tax, if applicable. Use coupon code PENCIL50 if the discount doesn’t automatically appear.

Thank you for encouraging me to make this class and til next time happy crafting!


