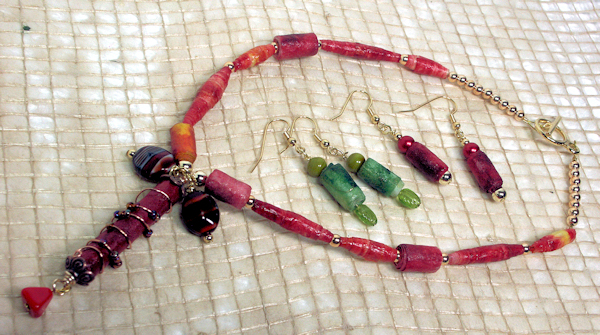
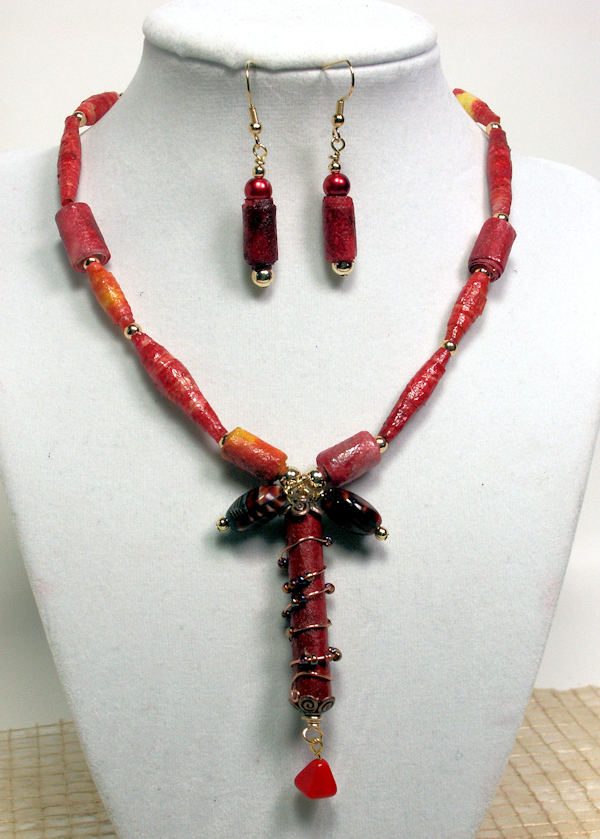
Have you ever seen that blog that shows Pinterest fails? It’s funny if it isn’t you. I think I might submit this doozy of a craft fail because if it not good for a craft it is good for a laugh. First let me show you what I was trying to make:

A facebook friend had posted a tutorial on on Thefrugalcrafter Community, she said she saw it and thought of me and I thought it was a really neat idea. DIY enamel dots made by melting perler beads. Hey, it was on Pinterest so it has to be easy…right? Now the above photo are the few that turned out well, here are the rest:
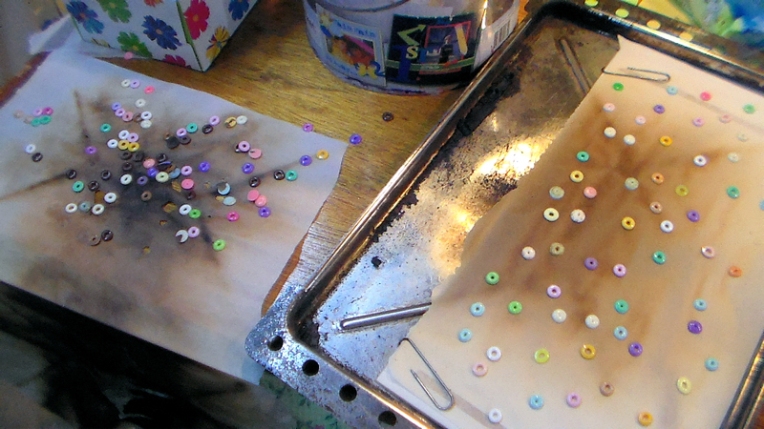
When you stop laughing I will continue. Are you quite done yet? OK. So apparently there has been a huge amount of people melting Perler beads and pony beads in their oven and making fake enamel dots that look just like the ones they charge big bucks for at the craft store. Personally I don’t even like enamel dots so that makes this whole project even more ridiculous. I guess I thought I’d like them better if they were free (I already had more Perler beads in my home than I care to mention) so I grabbed a tub of beads, parchment paper and my craft toaster oven and I was off to the races. I followed the recipe to the letter: Place the beads hole side up on the parchment paper and bake at 275 for 30 minutes, what could possibly go wrong? Let me tell you. The parchment paper burnt, the fumes were horrible and the beads turned into mangled doughnuts and not the lovely dots I was seeing from all of these other crafters. OK, new plan! I remembered that I had a heavy duty silicone mold that I used for clay and the back side was flat so I placed the beads on that and tried again figuring that the parchment paper was my trouble. The beads were not melting so I decided to leave them in there until they melted. 35 minutes later, nothing, 60 minutes later some had melted but still a lot of doughnuts, 75 minutes later the dots had discolored and were dull, not shiny, and some still had not melted. huh.
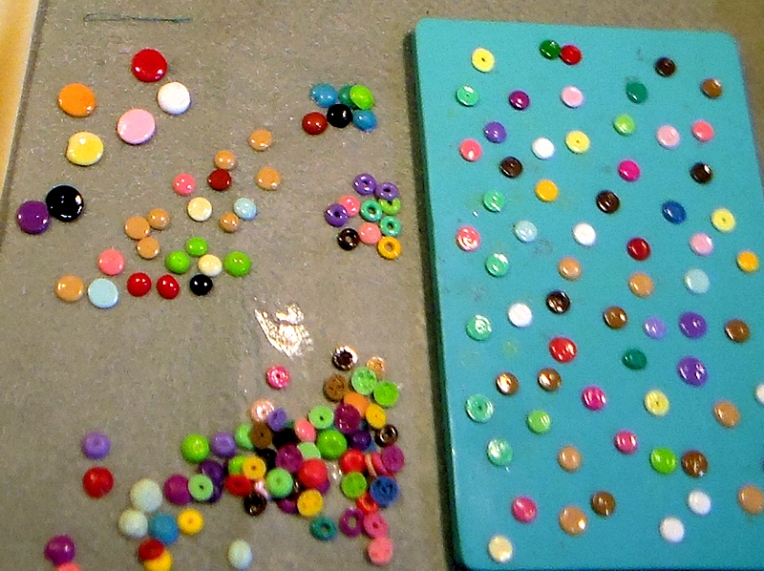
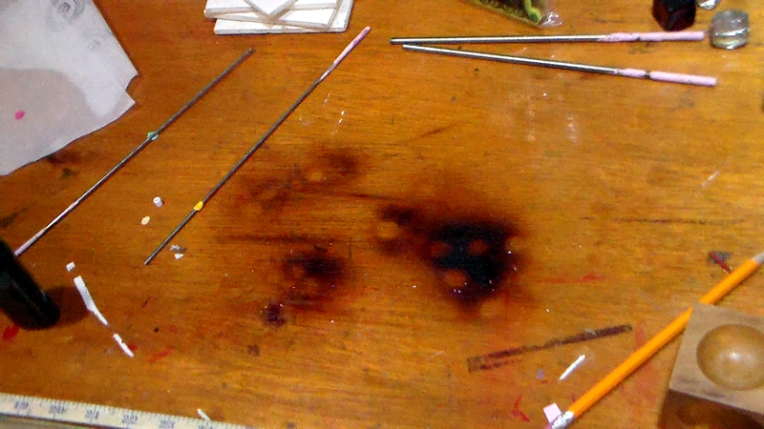
OK, new plan, when you iron Perler beads they only take seconds to melt so why not get them started with the iron them put them in the oven. Nope. OK, Iron them then prop the iron over them so it will make the tops glossy and domed (this actually worked the best, I used steel rods I had for glass bead making to hold the iron a millimeter over the dots.) I was working on my silicone Silpat mat, I’m not incompletely crazy after all. Then I thought “I know, I’ll iron them and then blast them with my heat gun to make them glossy!” The regular stamping heat gun did not do the trick so I grabbed my new $8 Harbor Freight heat gun on the low setting, no dice, so I switched it to high and it melted the tops of the dots but look what it did to my table…
This is was under my heatproof silicone mat that I had down for protection. I was totally freaked out because my table was hot! I was worried that it might burst into flames, I actually have checked it many times just to make sure it completely cooled off, I put water on the table and it made steam! How come other crafters made successful dots and I did not? I think it was the toaster oven, maybe the heat was too direct or intense because everyone else used a full size home oven. I do not like that idea, the fumes were bad and I think it is unwise to do this craft in your oven especially when in the directions for using Perler beads properly it says not to even sort the beads in a container used for food unless you are going to be sure to wash it properly. I think today’s experiment was probably equivalent to chain smoking 2 packs of cigarettes…I have no scientific data or experience with smoking to say for certain but it can’t be good! I am officially done with this craft, as I said I was never in love with enamel dots in the first place, I just love a good experiment, plus a few years ago I came up with a way to make dew drops with a glue gun and you can see the photo below and if you like it you can watch the tutorial here. Be warned, that tutorial is 5 years old, I wasn’t always this smooth and professional:)

Best of all hot glue is meant to be melted! I think if I was so inclined I could paint he hot glue dots too but I really do not feel that inclined. I hope you enjoyed my epic craft fail, we all have them and it is only a failure if we don’t learn from out experiences. I have to say that $5 for a pack of 60 seems like a real bargain to me now 😀 That is if I even liked them in the first place…I clearly need my head examined, and probably my lungs after today. If you can’t be a good example at lease you can be a horrible warning right? Thanks for stopping by and til next time happy crafting!
