I’m Rockin! {Rock-A-Blocks that is…}

I’m gonna let you in on a little secret…not every image I stamp is perfect. Yes, it’s true…alas I ruin sheets of lovely cardstock trying to stamp a nice crisp image, especially with some of my larger unmounted stamps. So, when I heard about the Rock-A-Block stamp mounts from Crafters Companion I wanted to give them a try. I asked around on various stamping groups I am a member of to see if anyone had tried them and what they though and got mixed reviews and one lady said “If you buy them please do a tutorial because I have them and I don’t know what to do with them” So I did some reasearch online and found both sets of the Rock a Blocks on sale for $8.99 each set {Score! It was at Joann.com BTW not sure if it is still on sale though, if not they have the 40% off stamping sales every month or so} and free shipping so I decided to give them a whirl.

My first attempts were miserable. They worked no better than my regular acrylic blocks, then I decided to do something I don’t normally do…

I read the instructions 🙂

Here is what I made with my Rock A Blocks. I stamped everything in this set with the rocking stamp mounts. The large doily stamp and lace border I have had for months and I loved the design but never got a decent impression. I ruined sheets of paper trying to stamp it with my traditional acrylic block but with the Rock a Block it was perfect! This is one of the cheaper stamps that doesn’t like to hold ink and I used a dye based pad for this and it still worked well. I made this card for my niece’s birthday today and the purse (from the Bag Bonanza SVG set) is just large enough to hold a gift card 🙂


I usually stamp on a foam pad but that is not recommended with Rock A Blocks, but I think my stamp table is not perfectly smooth so I used a few sheets of scrap paper under my cardstock as a mild cushion. As you can see in the video these blocks are very easy to use once you get the hang of it:

Here are the blocks I bought: the set of 4 smaller blocks and the set of 2 larger blocks:

Note: I have the Claudine Helmuth set of Rock A Blocks,they are aqua, the original ones are purple. Sizes are approximate.

Here is what the block looks like from the side, the rails on the edge act as a guide for the stamp.

Drawbacks:

  • The largest stamp size you can use is 4.5″x7″ and I have a couple of finicky unmounted stamps larger than that.
  • You have to be careful not to get ink on the side rails or you will have tracks on your paper. You can wipe the rails with a tissue before stamping if you think you have gotten ink on the rails.
  • Since you are “rocking” the stamp and not stamping straight down placement can be tricky and these mounts cannot be used with a stamp positioner like a stampamajig.

Bottom Line: If you have trouble getting a good impression with your larger detailed stamps try them, keep in mind the largest stamp you can use on these is 4.5″x7″ but if you have no trouble with your stamps and acrylic blocks currently you can skip them. Personally I know I will save a lot of cardstock using these!

I hope this was helpful to crafters that already have the Rock A Blocks and those considering buying them. Thanks for stopping by and til next time happy crafting!

The Softer Side of Stamping…

 Boy, after weeks of rain we are being spoiled by wonderful warm sunny weather. That means more time outside and less time in my dungeon of a basement craftroom. Still, I need my daily crafting fix so I took a few minutes…7 to be exact and made this card and video so you can see how easy it is to squeeze a few minutes of stamping time in daily during the busy summer months.

Stamps: Large Butterfly, swirls (Tattered Angels), Text background (Stampfrancisco), Frame, sentiment, small butterfly (Papertrey ink)

 This card only uses a few supplies, a half a sheet of cardstock, chalk pastels (AKA decorators chalk) and a couple of colors of ink, some stamps and a clear embossing ink pad or glycerin. See how easy it is to use clear ink and chalk to make the above card:

This card qualifies for the following challenges:  Cheerful Stamp Pad , DDH Challenges, Cards For Men, Incy Wincy Designs, KB Cute Monday , Make it Monday, Stamp with Fun, Stamps & Fun = Creativity, The Outlawz , Dream Valley Challenges, Allsorts, 2 Sisters, Inspire Me Fridays, and Flutterby Wednesdays

Thanks for stopping by and til next time happy crafting!

Perfectly Stamped Ribbon!

Another rainy spring day in the Northeast…talk about a broken record..all the more reason to stay inside and craft I guess! I wasn’t intending on making a video but I got to playing around with my Hug Snug Seambinding and rubber stamps and I had the best luck ever stamping on ribbon:

I used Hug snug seam binding in the color “Natural” from Sewtrue.com. I like the natural color because it has a lovely off-white vintage color to it but you can use whatever color you like. I set it on a foam mat (you can use a mouse pad or a sheet of fun-foam) and stamped the sentiment (Purple Onion Designs) repeatedly along the ribbon using Versafine Onyx Black pigment ink but any pigment ink should work. Let the ribbon dry a few minutes before using but don’t heat set it or it may curl up on you. Here is a video on making the ribbon and also coloring the focal image using the new Vivid Promarker blending kit:

That was so fun! BTW the Hug Snug Seambinding is also great for making Vintage crinkle ribbon, check out my tutorial here.  The colors I used on the scallops stamps (also from Purple Onion Designs) are More Mustard, Cameo Coral and Mellow Moss classic dye ink from Stampin Up and if you told be a week ago that those colors would be pretty together I would have suggested that you have your head examined but heck, I guess I was wrong (will wonders ever cease?)

This card qualifies for the following challenges: Crazy Challenge, Make it Monday, Simon Says Stamp and Show…, Emerald Faeries, Card Makin’ Mamas and Crafty Catz

Thanks for stopping by, I guess I will start on the big kitchen repaint project today,We have decided to paint the kitchen a deep cornflower blue (it is currently apple green) and I have to repaint the ceiling white (never done that before) so wish me luck! Til next time happy crafting!

Wanna have a pool party?

Or a cookout, luau, or beach bash? If you are thinking of having a Summertime shin-dig check out the new Beach Party kit from Lindsay’s Stamp Stuff.

You get 9 printable 8.5″x11″ sheets of summery goodness including a double-sided invitation/envelope (I call it an invite-a-lope) and it saves paper and postage because the invite and the envelope are one, just print the invite-a-lope front, insert the paper into the printer again and print the invite-a-lope back. It’s easy!

How about cupcake wrappers that look like beach pails, FUN! I frosted my cupcakes with peanut butter frosting to gat the color of sand but (and I with I though of this before I took the photo) you can crush graham crackers and sprinkle them on top for a realistic, yet yummy, beach sand look! I cut a toothpick in half and glued it to the bottom of the shovel before inserting it into the cupcake.

And what is a party without favors? The beach pail favor buckets can be filled with all sorts of goodies like mini sunscreen, goggles and chapstick or candy…

And you can make a cute bottle cap necklace with the 1″ party circles included in the set. You can print them on sticker paper too for cute envelope seals and water bottle toppers too!

Water (to drink) is essential to a day at the beach so this kit has waterbottle labels, just write the guest’s name on the label so drinks are not mixed up!

This party kit (or parts of it) qualify for the following challenges: Aly’s Sunday Challenge, Corrosive Challenges, Gingerloft, Sparkles Forum , Card Creations & More By C , Ellephantastic, Crafts 4 Eternity Recipe Challenge, Inspire Me Fridays, Off the Wall Craftiness, Raise The Bar, Digi Doodle Shop’s Best, Moving Along With The Times, The Outlawz POM and Paper Romance,

Thanks for stopping by and till next time happy crafting!

Easy Easter Centerpieces!

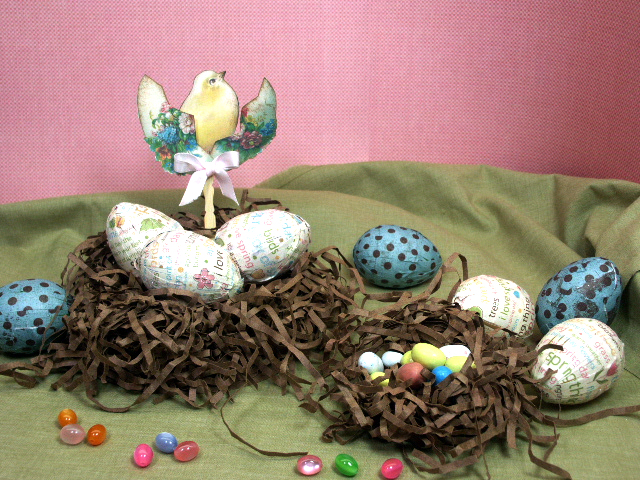
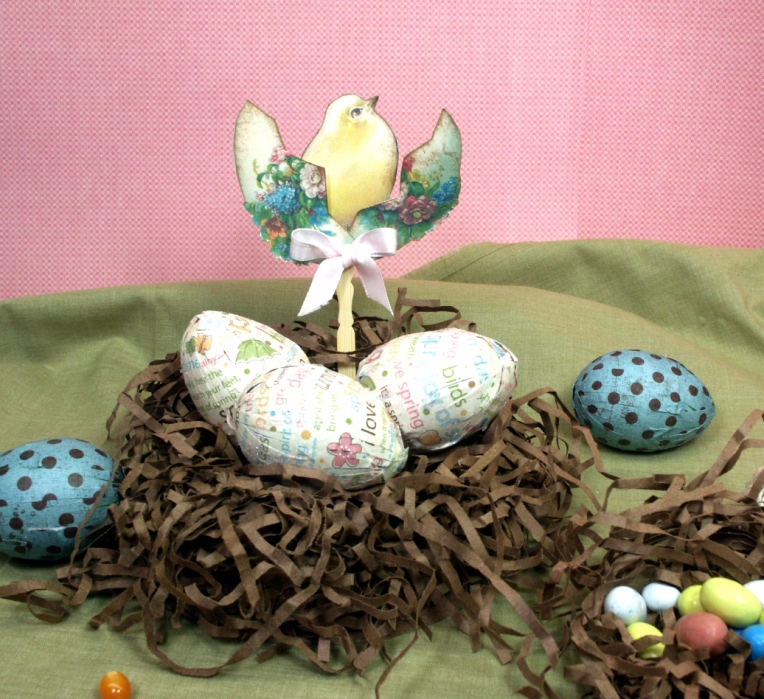
Want to spruce up your Easter table with a recycle craft you can make with your kids? Check out this easy centerpiece made with ordinary craft supplies and recycled materials:

Check out my Video to see how easy it is to make!

The Chick and egg image I used is  free from Vintage Image craft and can be found here.

This project qualifies for the following challenges: Creative Stamp Friends, House Mouse Challenge, Lexi’s Creations, Make it Monday with Kraft Outlet, Stamp-N-Doodle, Crafty Pad, Creative Inspirations, Kenny K Krafty Girlz, Paper Sundaes, Sparkles Forum.

Thanks for stopping by and til next time happy crafting!
Summer Lovin’-Had me a Blast…

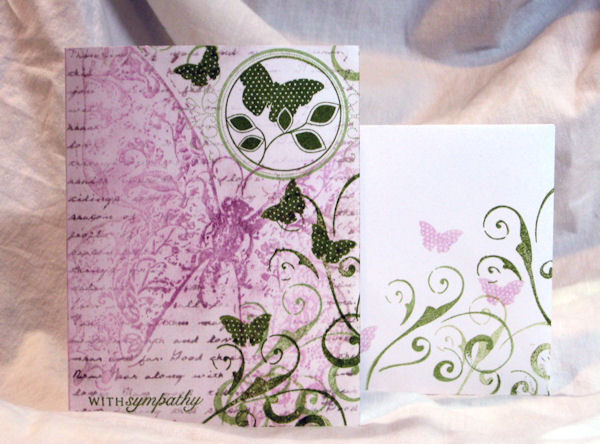
Wow, I just realized that summer vacation is just 2 months away! Wow, where did the year go!?! Last summer was awesome weather-wise, we went swimming almost every day and I actually (gasp) had a tan! I’m hoping for another warm sunny summer again this year and while I was on this train of thought I came up with the new Summer Fun SVG & Printable template set!

I love the 3-D flowers, I think I might make some out of felt and put them on hair clips 🙂

Last weekend I bought bubbles for my kids and I snapped a few pics of them playing outside with them…oh yes, I feel a scrapbook page coming on!

You get this whole set of Printable and SVG crafting Templates including:

  • 3-D Paper Beach Pail Favor
  • 3-D Hibiscus Flower
  • Flip Flop Card and Single left and right flip-flops
  • Beach Ball Card and plain Beach Ball die cut
  • Beach Pail Card
  • Bubble bottle and Bubble wand paper piecing die cut.
  • Happy Sunshine with sunglasses layered die cut.
The SVG files have been tested in Sure Cuts a Lot (SCAL), Make the Cut (MTC), and Fairycut software and will work with your Cricut TM and other compatible die cutters with the above software.

You get the entire Summer Fun set for $5!

Thanks for Stopping by and til next time happy crafting!

Let’s make beads {for free!}

You gotta love free right? Take a look at the lovely beads you can make today:

Nice huh? And they won’t cost you a penny to make because I bet you have all the supplies you need in your craft box: permanent markers (I’m using Promarkers), scissors, round or needle-nosed pliers (grab them from your hubby’s tool box if you don’t have your own) and a heat (AKA embossing) gun. Check out the short (3 1/2 minute!!!) video to see how it is done:

For those of you who prefer written directions here you go:

  1. Cut plastic bottle into strips.
  2. Color one side of plastic with permanent marker.
  3. Wrap it into a tight coil with pliers and use the pliers to hold it securely. Make sure you wrap it with the inked side facing inwards.
  4. heat it for about 20 seconds (or until it shrinks and holds it shape.)
  5. Use your fab new beads on your next jewelery project!

Here are the earrings I made:

My kids loved making these too. I precut the strips and let them color and wrap them. The held the pliers while I used the heat gun. Pleas supervise young children when doing this craft 🙂

Thanks for stopping by and til next time happy crafting!

Let’s Get this Party Started!

Happy Friday! I have been busy this week planning my sons birthday party, this year he wants to have an arcade party so I designed an Arcade Party Printable set that includes invitations, favor bags, cupcake wrappers and toppers, candy bar wrappers and thank you notes plus my 30% off Spooktacular Sale is going on so you can snag the entire set for $3.50! I also think this would be darling if you were having a video game sleepover party!


There is so much in this kit and the favor and quick, easy and inexpensive to make!


I used to be leery of printing bright graphics on my home printer due to the cost of ink but a few months a go I tried off-brand ink for my HP photosmart printer (I bought it through amazon.com marketplace from the seller vivamart-no affiliation though:) I got all 6 HP02 ink carts for $10 and free shipping, I’ve replaced many of the inks and as you can see from my photos the colors are bright and crisp with the cheap ink! It used to cost me $70 for that much ink at Staples, what a deal!


This adorable candy bar wrapper is 5.25"x5.25" and cover candy bars such as Nestle Crunch©, Nestle Aero©, Hershey© Milk Chocolate,Special Dark©, Hershey© with Almonds, Mr. Goodbar© No text is on the wrapper, you can type or write what you like or leave it blank 🙂


I love the candy bar wrapper! Jacks birthday is a week before Halloween so I’m not sure if parents will be cool with me handing these out to the guests but they are just so cute! I havent decided what to give as favors yet, maybe some of the small plastic pinball games from the party favor isle at Target, they will easily fit in either of the favor bags. The large one cuts from one sheet of 8.5″x11″ caredstock but the small one cuts 2 to a sheet and that is included in the Arcade Party Printable kit too. Here you can see the difference in size, the large one is3″wide, 1.5″ deep and 4.5″ high, the small one is 2.5″ wide, 1″ deep and 3.75″ high:


If you want custom text on yout printables add it before printing! I changed my text color to white so it stands out and uses less ink!


The invitation and Thank you notes are 5″x7″ with a full .25 bleed (that is handy if you want them professionally printed or if you are an invitation company-yes commercial use is available!) or you can print them at home as I did, the invitation I printed flat just by typing my text over the arcade game screen:


No text or wording is on the invitation, you can do that on your computer:)


But for the Thank you note I printed it as a folded card but you could easily use it as a flat card and type or write your thank-yous in the white space:


the words "thank You" ARE already printed on this card.


Th cupcake wrappers are 4 to a 8.5″x11 sheet so no paper is wasted and you get 20 toppers that can be punched out with a 1.5″ circle punch on another 8.5″x11″ sheet:


Is there anything cuter than cupcakes and candybars with custom wrappers? I don't think so.


Here is a look at the Arcade Party Printable set, remember it is 30% off along with everything else through tomorrow at Lindsay’s stamp stuff!

Remember 30% off everything until Saturday night at Lindsay’s Stamp Stuff!

Thanks for stopping by and til next time happy crafting!

Crafty Video: Make Pearls and Dew Drops!

Howdy folks! I’m at it again with the videos, I had a couple friends over to craft last night and I was playing with my glue gun trying to make pearl topped brads and it worked, see them on this card:

Stamps: About Art Accents

So I asked Tracy if she would film me making them along with dew drops so without further ado here is the video:

The stamps on this card are from About Art Accents and I’m not sure about the handmade papers but the brads do a great job of holding down the mesh sheet.

making faux pearls is fun and easy!

Tthanks for stopping  by and til next time happy crafting!