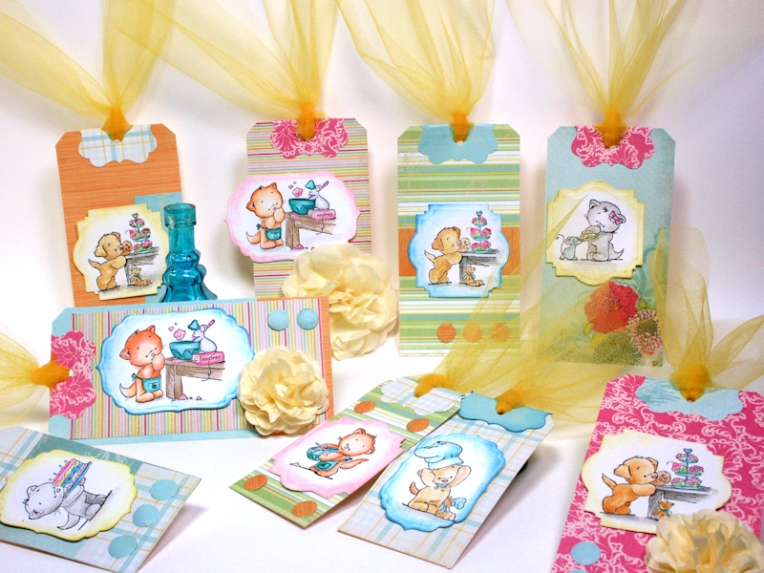
Hello friends! I was in the mood to play with markers the other day and I remembered some cute stamps that came in an old issue of Cardmaking & Papercraft magazine, I actually bought the magazine because of these cute stamps!
Some of the images I colored with alcohol markers and some I did with water based markers. With all of the hoopla over Copics and other alcohol based markers (Promarker, TRIA, Prismacolor, Spectrum Noir etc.) I thought I’d do a tutorial on blending them. It an be confusing what to buy, then, when we get them home we forgot how we were told to use them. Well, this tutorial is for you, especially if you don’t have many markers. I’m going to show you a technique called priming that will help you blend colors that are not too close together. All you need is a clear alcohol based blending marker and some permanent markers (Bic Mark-its and Sharpies are an affordable option and they will work with the expensive art markers too!) Well, enough talking, let’s get coloring:
OK, so maybe you never invested in alcohol markers because you already invested in water-based/watercolor markers ( Tombow, LePlume, Whispers, Memento, Stampin’ Up and Distress are all examples of water-based markers) hey, I don’t blame you, they are super versatile, each one can be used like a mini ink pad, but they are great for coloring as well. Today I will show you how to blend them on regular cardstock using a water-based blender pen which is basically a clear marker filled with a water/glycerin mix. You can use a damp round paint brush (damped with water and glycerin if you don’t have a blender pen. Another benefit to watercolor markers is that the color usually will not bleed through cardstock.
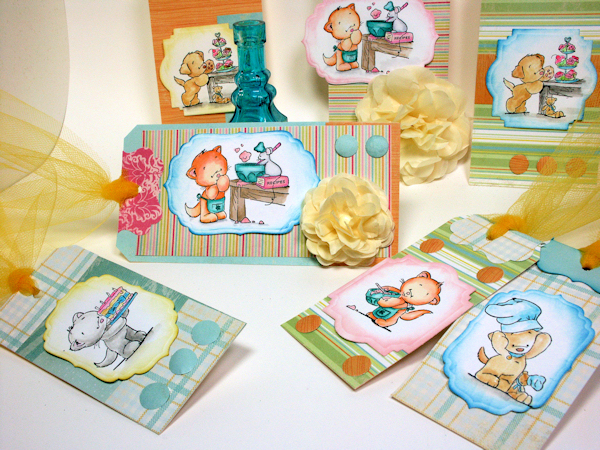
The benefit to watercolor markers is that you need fewer colors and it is quicker. The benefit of alcohol markers is that you can fuss with the image as long as you like. Whatever your preference you can get a similar effect from either type of marker. Can you tell what ones were done with alcohol markers and what ones were done in watercolor markers?
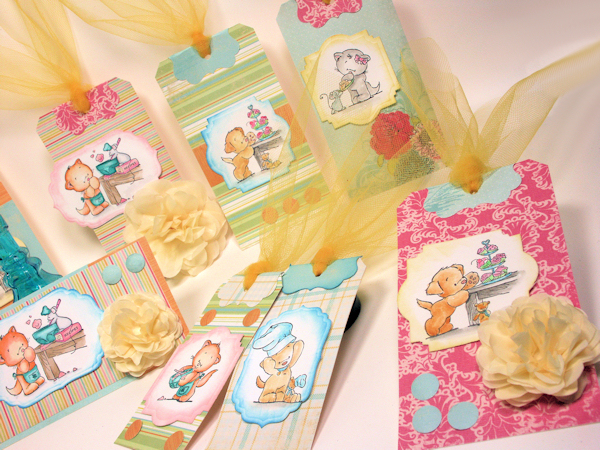
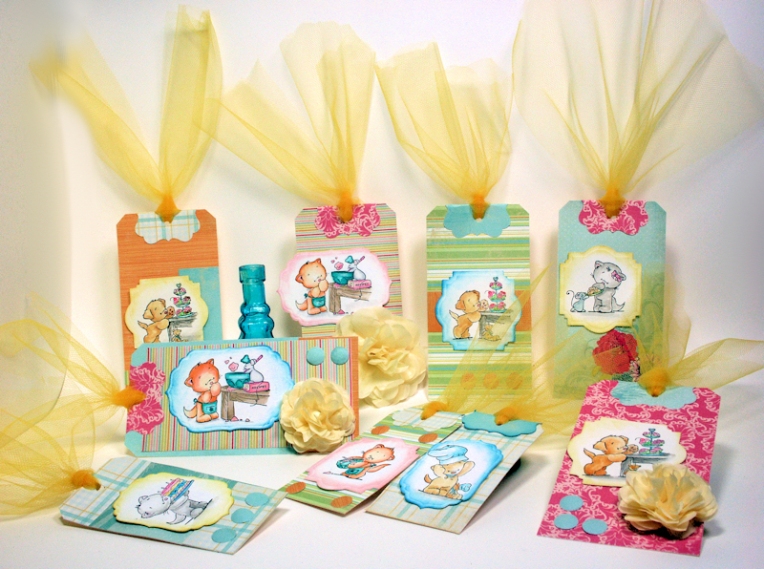
OK, you’re keen eyes probably can but I think they look super and it will be handy to have all of these tags on hand for upcoming birthdays! Here is a tip, the next time you color a bunch of images grab a pad of paper and make a bunch of tags. I used to just color them and stuff them in a drawer but since I always need gift tags and grabbed my large shipping tags, tulle and leftover tissue paper flowers from Papermart and a pad of Fancy Pants paper (my 6″x6″ bin of paper was overflowing so I wanted to use some up!) and made some tags. I made faux brads/card candy by punching circles out of some of the scraps and doming them with a ball end stylus and hot gluing them to the tags. I had only itsy bitsy shards of paper left over after this and a batch of new tags for my trouble. Not bad:D I hope this helped you get more use out of your markers. If you have any questions leave a comment and til next time happy crafting!


These are so cute
LikeLike
Love these beautiful tags.
LikeLike
Lindsay, Your timing couldn’t have been better. I’ve been playing with alcohol markers and your tips are great. I just started combining brands and its working well (also saving me from buying more colors:)).
I’m looking forward to playing with my water color markers for coloring too.
As always, thanks so much for all you do!
Blessings,
Marie
LikeLike
I too like Marie just started REALLY playing with all the markers that I have. These are great videos. Now I need to go back to your previous post on glycerin (have a marker or two that needs to be refreshed). Thank you for all of your great tips, techniques and how to posts they have really come in handy.
LikeLike
Your timing is right on…. been pulling out my alcohol markers and trying to blend 😦 and this is just what I needed!! PRIMING!!! this makes a big difference,,thank you thank you!! will this work for the BIC markers too???
LikeLike
yes! I started with a pack of 36 bics and a few light prismacolors for blending, worked like a charm!
LikeLike
yes, it works well with the bics:)
LikeLike
Thanks for the tips Lindsay!
Jan
LikeLike
Thank you, again!! Great tips and inspiration for a flagging mojo.
LikeLike
Great video’s Lindsey. I was just going to try my hand at coloring this weekend and didnt know whether to use alcohol markers or watercolor, you made both look so easy, guess Ill try them both, great tips. Never seen a blender used for watercoloring only a brush and waterpen so neat tip and it seemed to work really well.
For those interested in cute animal images Crafters Companion sells a ton of cute animal stamps and Joann’s usually have a lot of those when they do their big sales so you can get them cheaper.
Thanks for the great tutorials!!
LikeLike
Another helpful tutorial, thank you, Lindsay!
Maybe I can offer you some information… I found that Neenah Classic Crest Solar White – Smooth blends more easily and with less feathering (bleeding) than does their Super Smooth. Also, a wonderful paper to use for coloring with alcohol markers is Cryogen White (which I buy online through Paper Temptress). Cryogen White has tiny “sparkles” in the paper so for anyone who loves a bit of subtle sparkle this is a must have paper. Blending on Cryogen is effortless. I’ve experimented with alcohol marker blending on just about every paper known to mankind (LOL) and Cryogen is the easiest paper to accomplish it.
LikeLike
never tried that cardstock, thanks for the tip:)
LikeLike
Thank you, Lindsay, for this wonderful tutorial. I recently purchased a bunch of Spectrum Noir markers when there was a great sale. This will definitely help me use them. So good to know they will play well with the Sharpies I already have. Thanks also to Rosie for the info about the papers. Love this blog so much!
LikeLike
Thank you Lindsey for your great video tutorials. I learn so much from them. What is the brand name for the cat and mouse stamp. I was born in England and my Mum had that exact same bowl for making her Christmas puddings and I would love it.
LikeLike
it was a freebie from CaRDMAKING AND pAPERCRAFT MAGAZINE FROM 2 YEARS AGO, you might be able to find a back issue:)
LikeLike
I know I said this the other on my YouTube comment, but those stamps are soooooo stink in’ cute I can barely stand it! I wish they were still available. I really appreciate your tutorials on using both types of markers. I can always use this type of info, and you make things so fun while teaching us lots of important info.
Have a great weekend and enjoy those cute tags!
Maureen
LikeLike
I have been meaning to mention this, if anyone is looking for a good price on markers, Staples has the Bic Mark-It’s for 9.99 for the 36 pen set in both fine tip and ultra fine tip. You can get free shipping if you have a Staples reward card, if not, get them sent to your local store for free and pick them up there. Then do as Lindsey suggests and use them with whatever other markers you have, or a blender pen, and go to town! Hope this helps.
LikeLike
awesome score!
LikeLike
3 Questions:
1)Lindsay what kind of ink did you stamp the image with for
the watercolor video, you already had it stamped and didnt say?
2)The Letraset Aqua Blender Pen you used in that video, is that refillable?
3)What ratio of water and glycerin to refill the pen? Thank you.
LikeLike
Stampin up basic black (old formula) but then I colored ones I had stamped with memento and it did not bleed, it was good and dry so you might want to heat set it if you are not sure if the ink is dry. The Letra set pen is not ment to be refilled but I would refill it if the tips hold up LOL! 50/50 mix of glycerin and water will do the trick!
LikeLike
did you ever use your eight dollar heat gun from harbour freight? I’m curious as to how it compares top your crafting heat tool
LikeLike
I turned it on to make sure it worked and it was fine. I have not done a lot with it as it is a backup:) The end stays hot for a long while and is not protected like the stamping one (probaly cuz the high setting would melt it) but I’ll give it a try out next time I need to emboss and see how it does:)
LikeLike
The blending tips are very helpful–I’d never heard of priming when using alcohol markers. I love the way both turned out. The tags are darling too.
I’ve made faux brads and saw online that there is a die for faux sequins..I tried making those the frugal way and they turned out great. When you make your own you can gurantee the colors will match perfectly–not that they must.
I’d love to see what you could come up with for faux sequins. I’m also thinking faux Chinese coins, but I don’t have a square mini punch.
I have 3 of that same magazine that i bought just for the free stamps. One is the same characters you used here , one is a set of fairies, and the other is Holly Hobbie.
How I wish card magazines here would give free stuff. I always check Barnes and Noble -mine carries several UK craft magazines and they all have free product with the magazine–sometimes CD’s of digital images, papers, all kinds of things. My favorite though is the stamps.
LikeLike
I missed the hollie hobby ones and I could have kicked myself, I had stared subscribing and I thought I was getting that one but it started with the following issue. I had holly hobby walpaper in my room as a child:) Yay the 1980s LOL!
LikeLike
As usual I learn something new each time I watch your tutorials 🙂 Thank you.
LikeLike
Love the tags and the tutorials were amazing as always, thanks. ~Diane
LikeLike
Thank you for this I’ve been wanting to know more about blending and the tutorial has really helped.
LikeLike
Hi Lindsay!
Will the Stampin Up blender pens work to blend watercolor markers?
Hugs, Beth
LikeLike
yes, that one is my favorite!
LikeLike
I have a Tim Holtz fillable blender pen that I have filled with the alcohol blending solution. Will that work for these coloring techniques?
Thanks, Beth
LikeLike
it will with the permanent alcohol markers:)
LikeLike
Hi Lindsay
I love your work and you are such an inspiration. I have a full set of tombow markers and a set of koi colour brush markers. I am looking at buying some distress ink markers but I don’t want to waste my money if I don’t need to. Can please tell me if they are the same as the markers I have or not. Thanks heaps Julie
LikeLike
they are the same animal but the distress will blens a bit better when doing watercolor directly on paper. I recommend trying a couple markers in colors you do not have and see if yu like them. there is no money wasted that way because they are compatible. I prefer Tombows to distress.
LikeLike