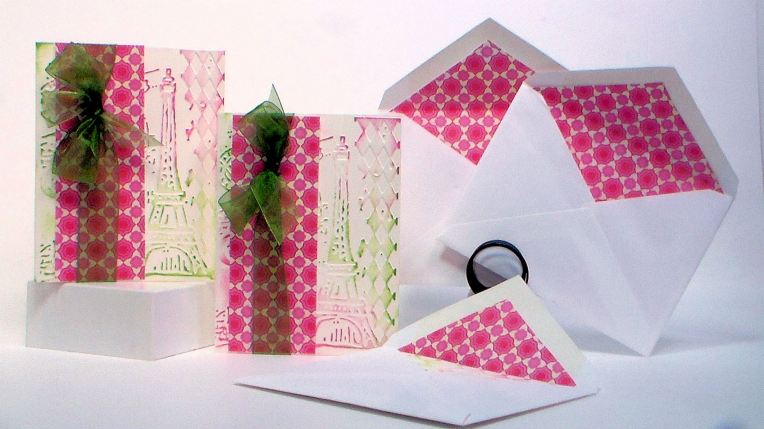
Hi Friends! Do you ever need a last-minute card to send? Or maybe you want to make a stationery set to give as a gift or sell at a craft fair? Well today I’ll show you how to line and envelope and make a chic and trendy card in under 5 minutes!
I think it took me 10 minutes to make the set of three! Talk about a great craft fair idea and you can do it affordably using supplies from our sponsor Papermart:
Supplies
- white envelopes
- scrapbook paper
- cream cardstock
- organza ribbon
- adhesive
- ink pads
- embossing folder and die cut machine
- Optional: Clear bags for packaging up your card sets for sale-I like the 6″x9″ size
Directions
- Measure envelope from under the glue on the flap to the bottom of the envelope. Measure the width minus 1/8″ Cut paper scrapbook paper to that size.
- Trace the flap of the envelope on the scrapbook paper and cut on the lines.
- Insert liner into envelop and attach with a bit of glue.
- To make the card emboss the front panel of a card with and embossing folder and fold in half. Ink the raised design if desired.
- Adhere a strip of leftover scrapbook paper to the front and tie a ribbon around that area.
I hope you try this easy cardmaking idea and if you need a large quantity of envelopes, ribbon or any other packaging supplies please check out Papermart and don’t forget to tell them Lindsay sent you. Thanks for stopping by and til next time happy crafting!
